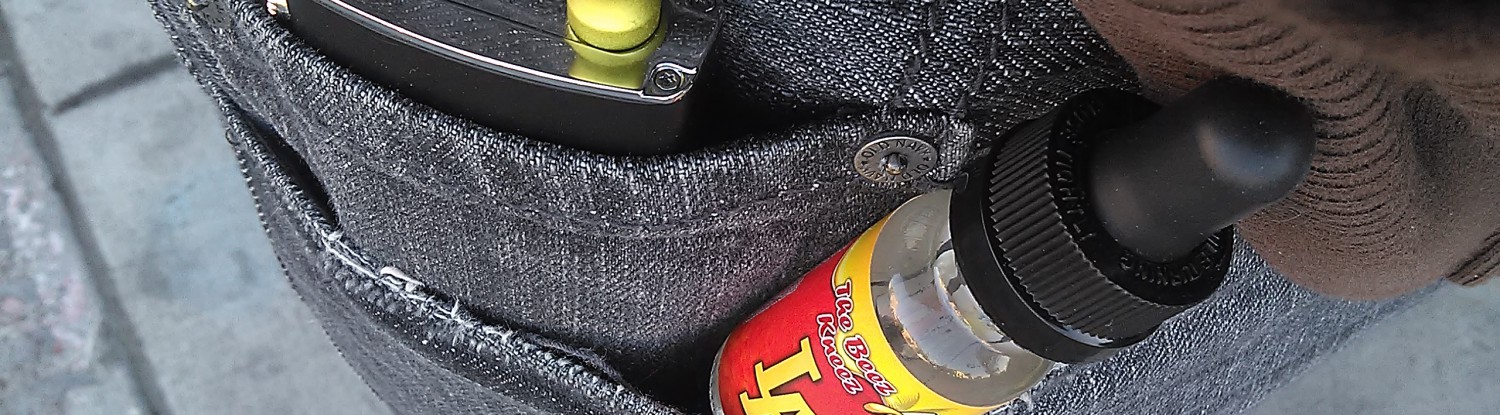
As an avid Joyetech eGrip user I was pretty excited when shortly after it was released that there was an announcement made that a RBA was going to be released in the near future. I loved the device as is but an upgrade like this is a can’t miss. And, it gives me a good reason to practice the fine art of rebuilding. Then, I discovered that vapors found a way to make the Aspire Bottom Vertical Coils compatible with the eGrip = mind blown.

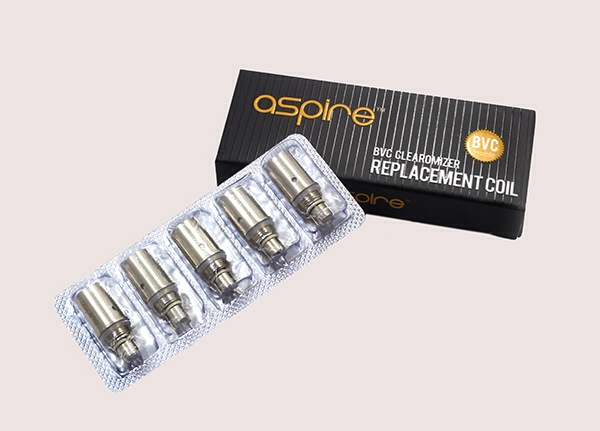
That now gives us 3 choices…we can either replace the CS Atomizer head with the Joyetech manufactured brand, use the Joyetech RBA to customize your Vaping experience or go full Frankenstein while doing a simple modification to make the Aspire BVC’s compatible with the eGrip. I channeled my inner Igor on this decision and set out to pick these bad boys up. A pack of 5 Aspire BVC’s (non-Nautilus) will run you about $9.99. They will cost you less than a pack of 5 CS Atomizer heads from Joyetech. The Nautilus BVC’s are available in 1.6, 1.8 & 2.1 ohms. I picked up the 2.1’s since it was the only one available in the shop. Luckily, it is a very easy customization with only 1 tool required that many households already have. All you need are a pair of needle nose pliers…or even a vice grip, both are fine. I’m going to try out a photo tutorial on this one with helpful instructional captions that will be easy to follow for those trying this procedure out for the first time. If all else fails, Youtube University has a couple of videos showing the procedure…
Let’s operate!

Step 1
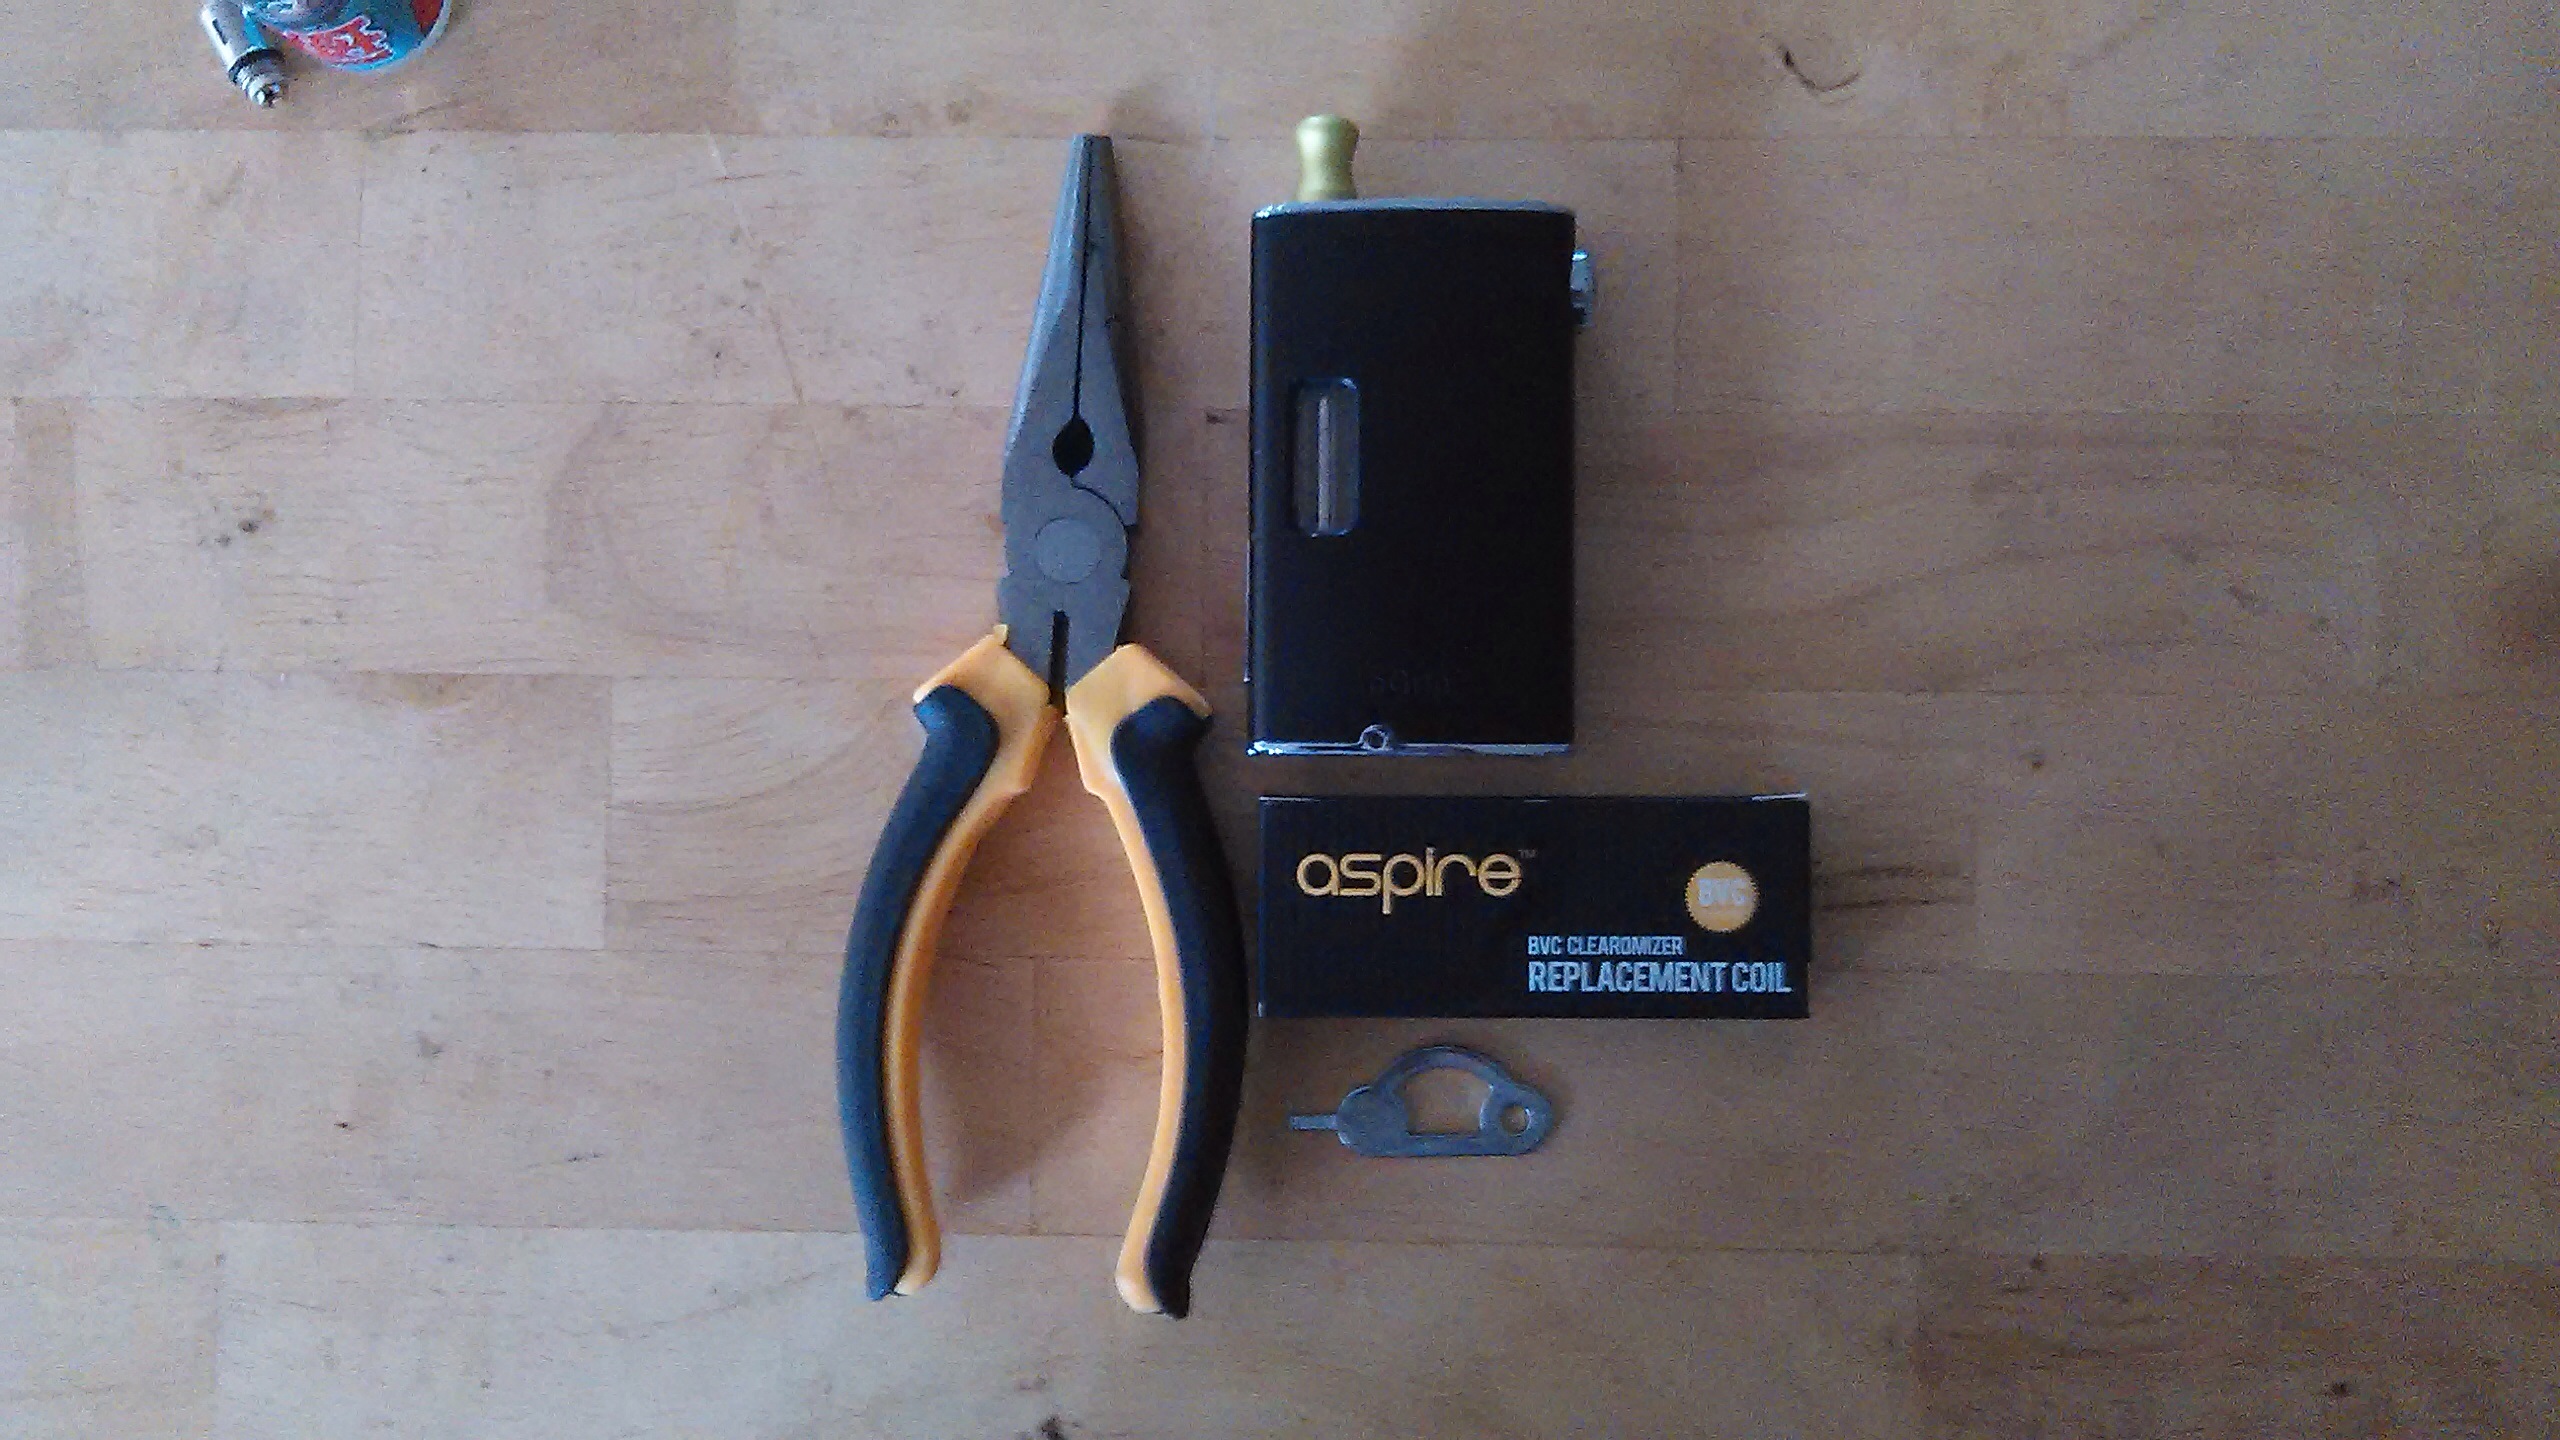
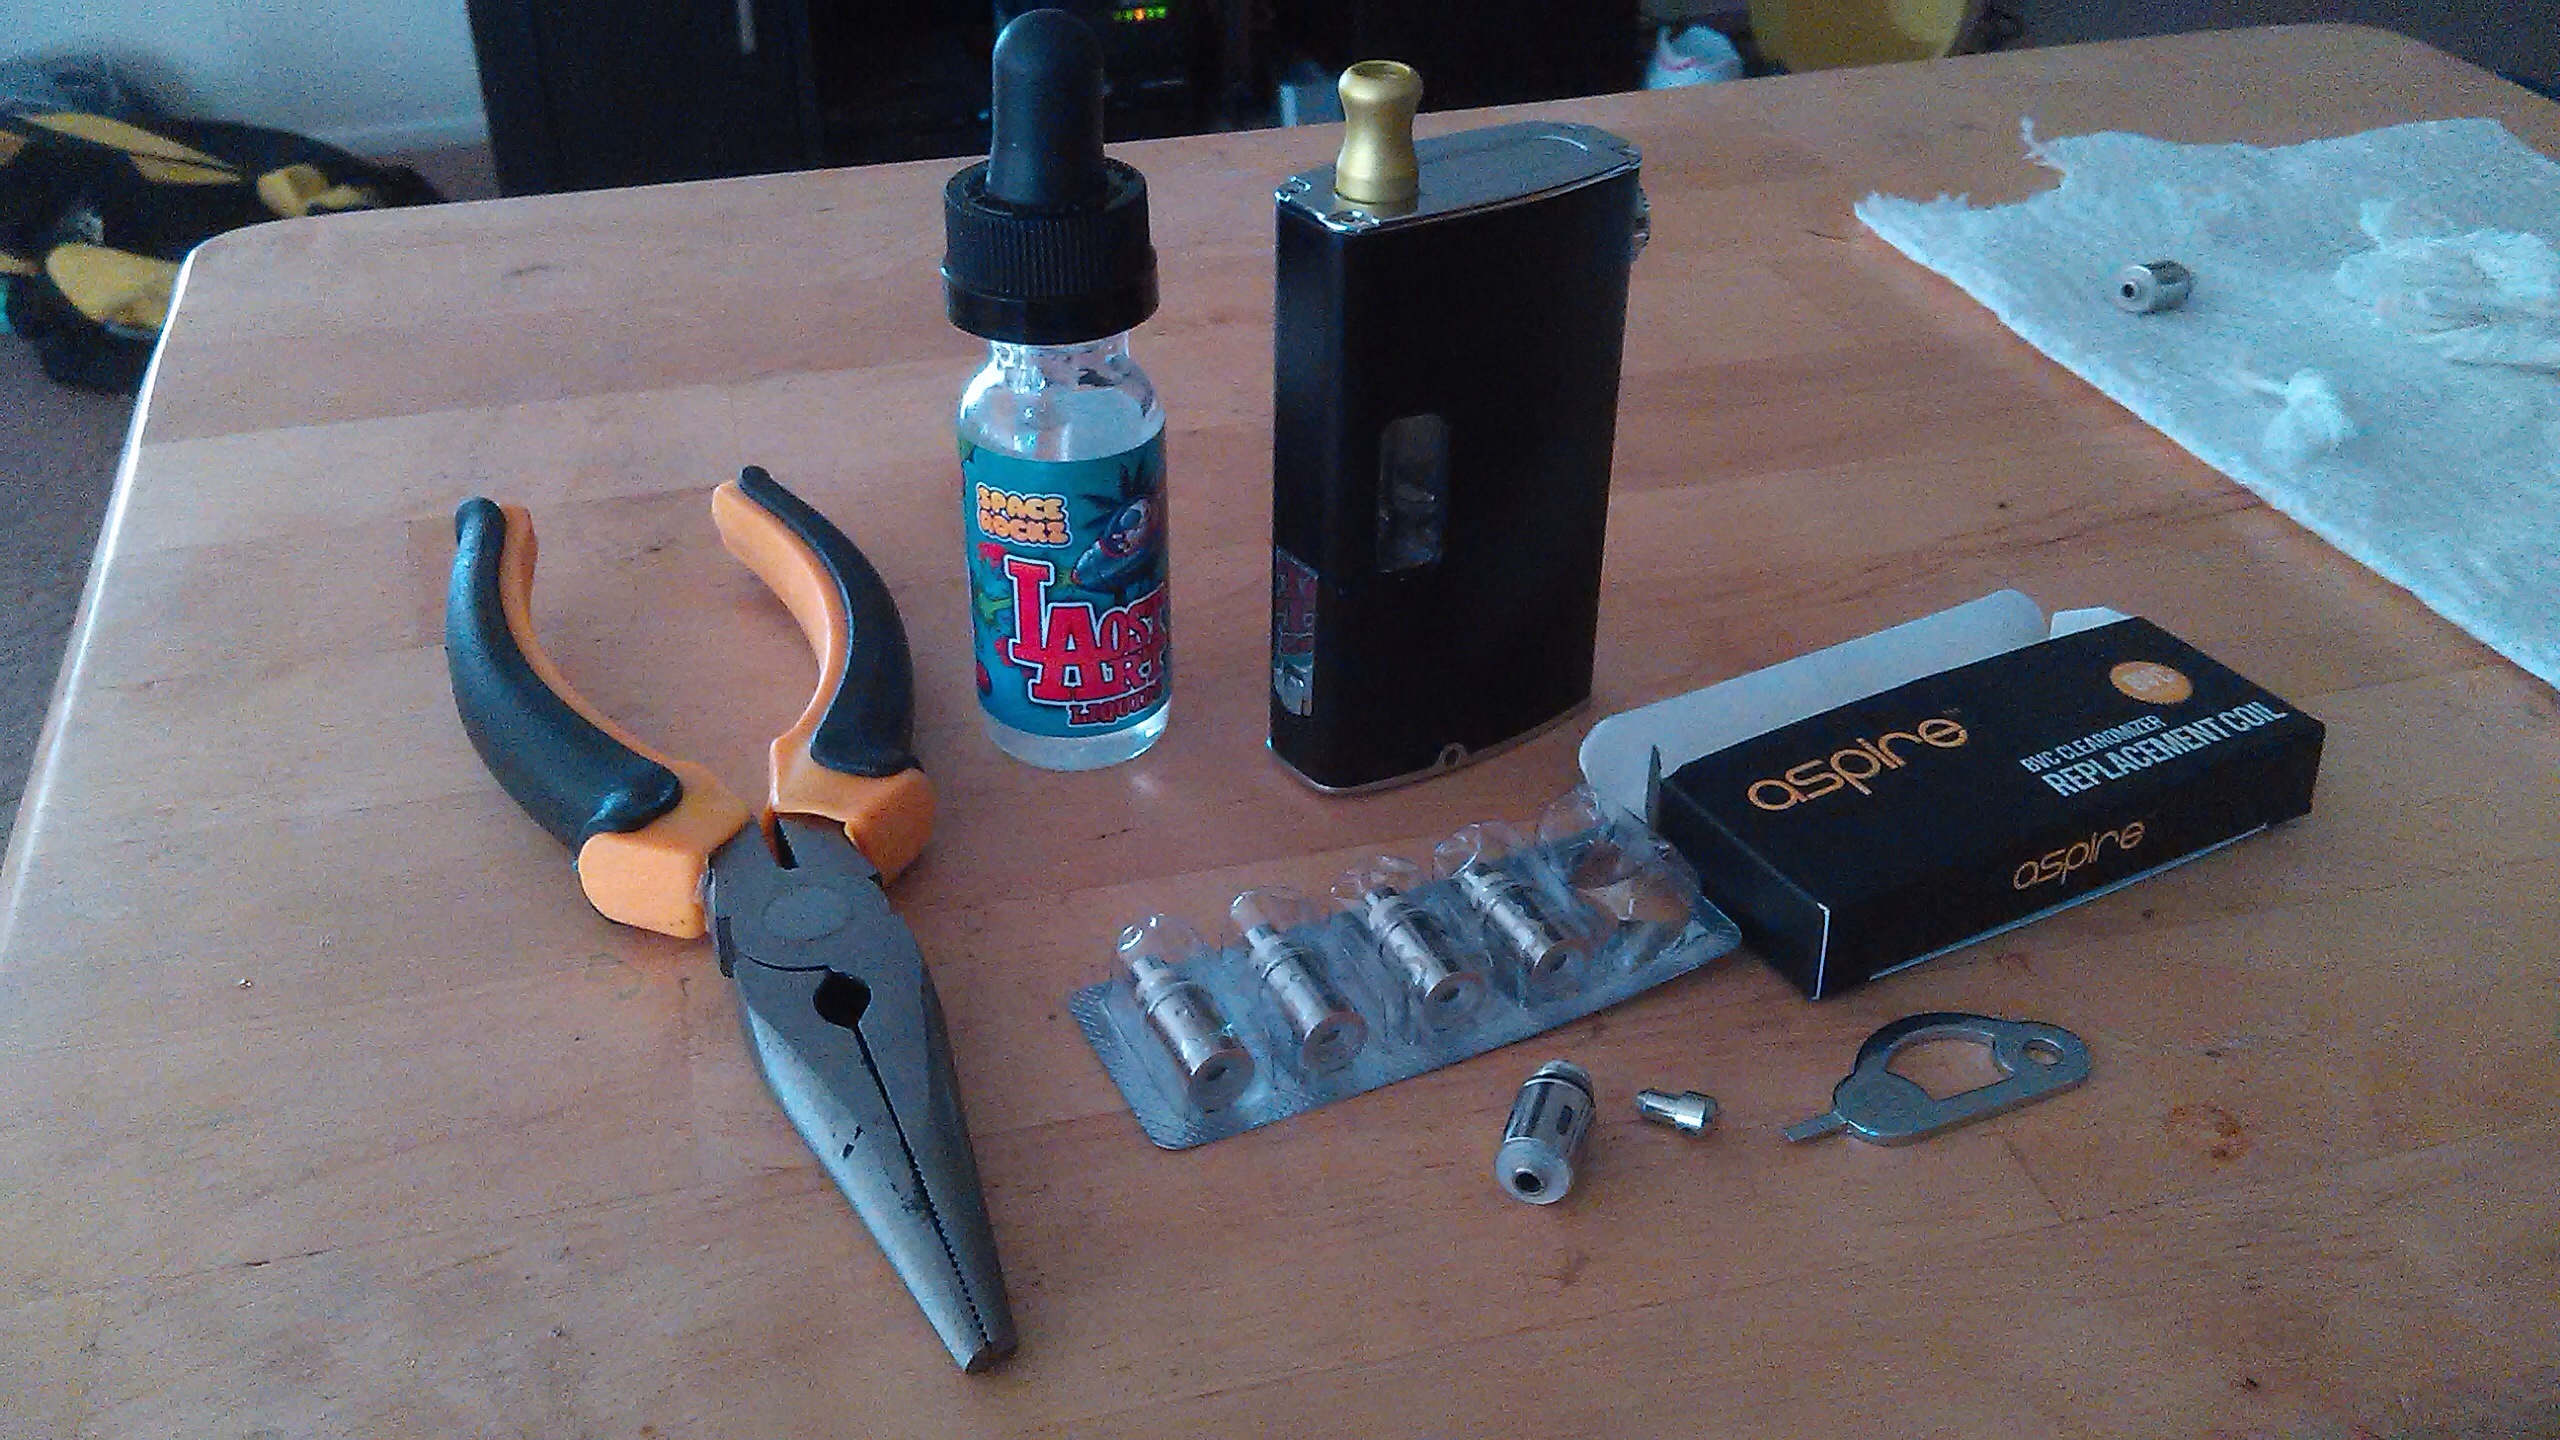
Getting started…this is all you will need to start this simple modification.
– A pair of needle nose pliers
– Joyetech tool
– eGrip
– An Aspire BVC (Bottom Vertical Coil)
Step 2
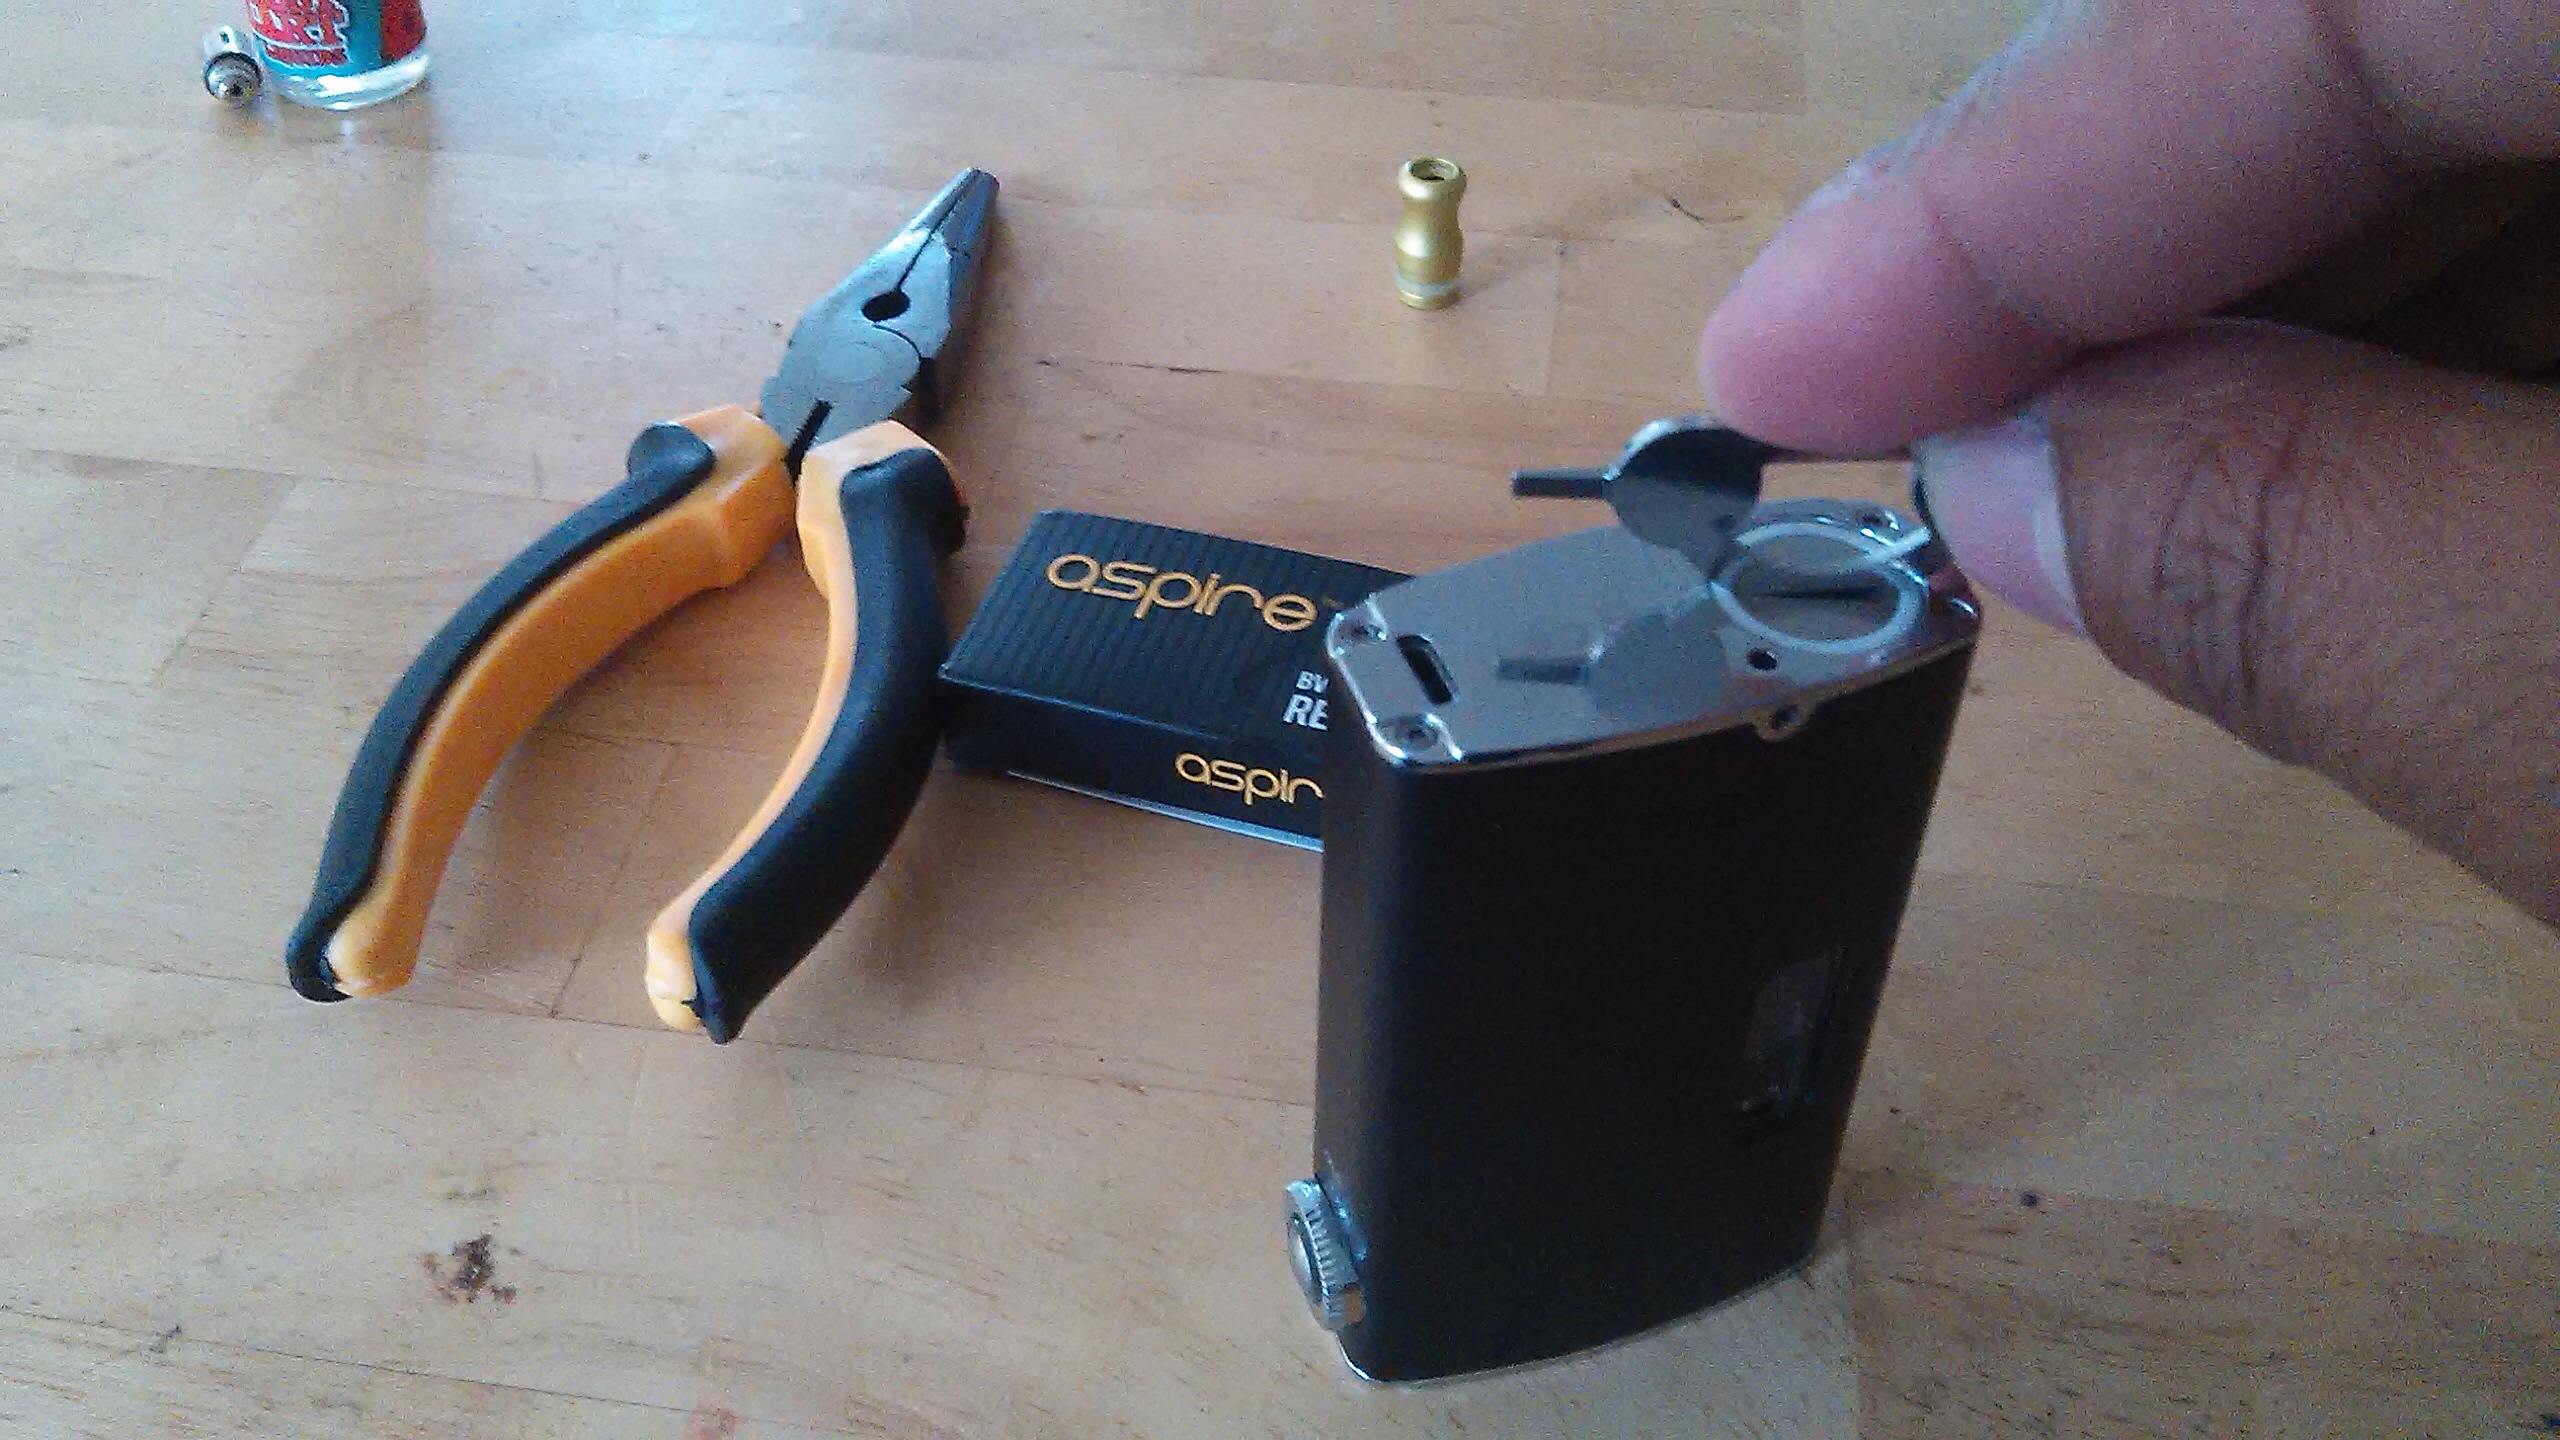
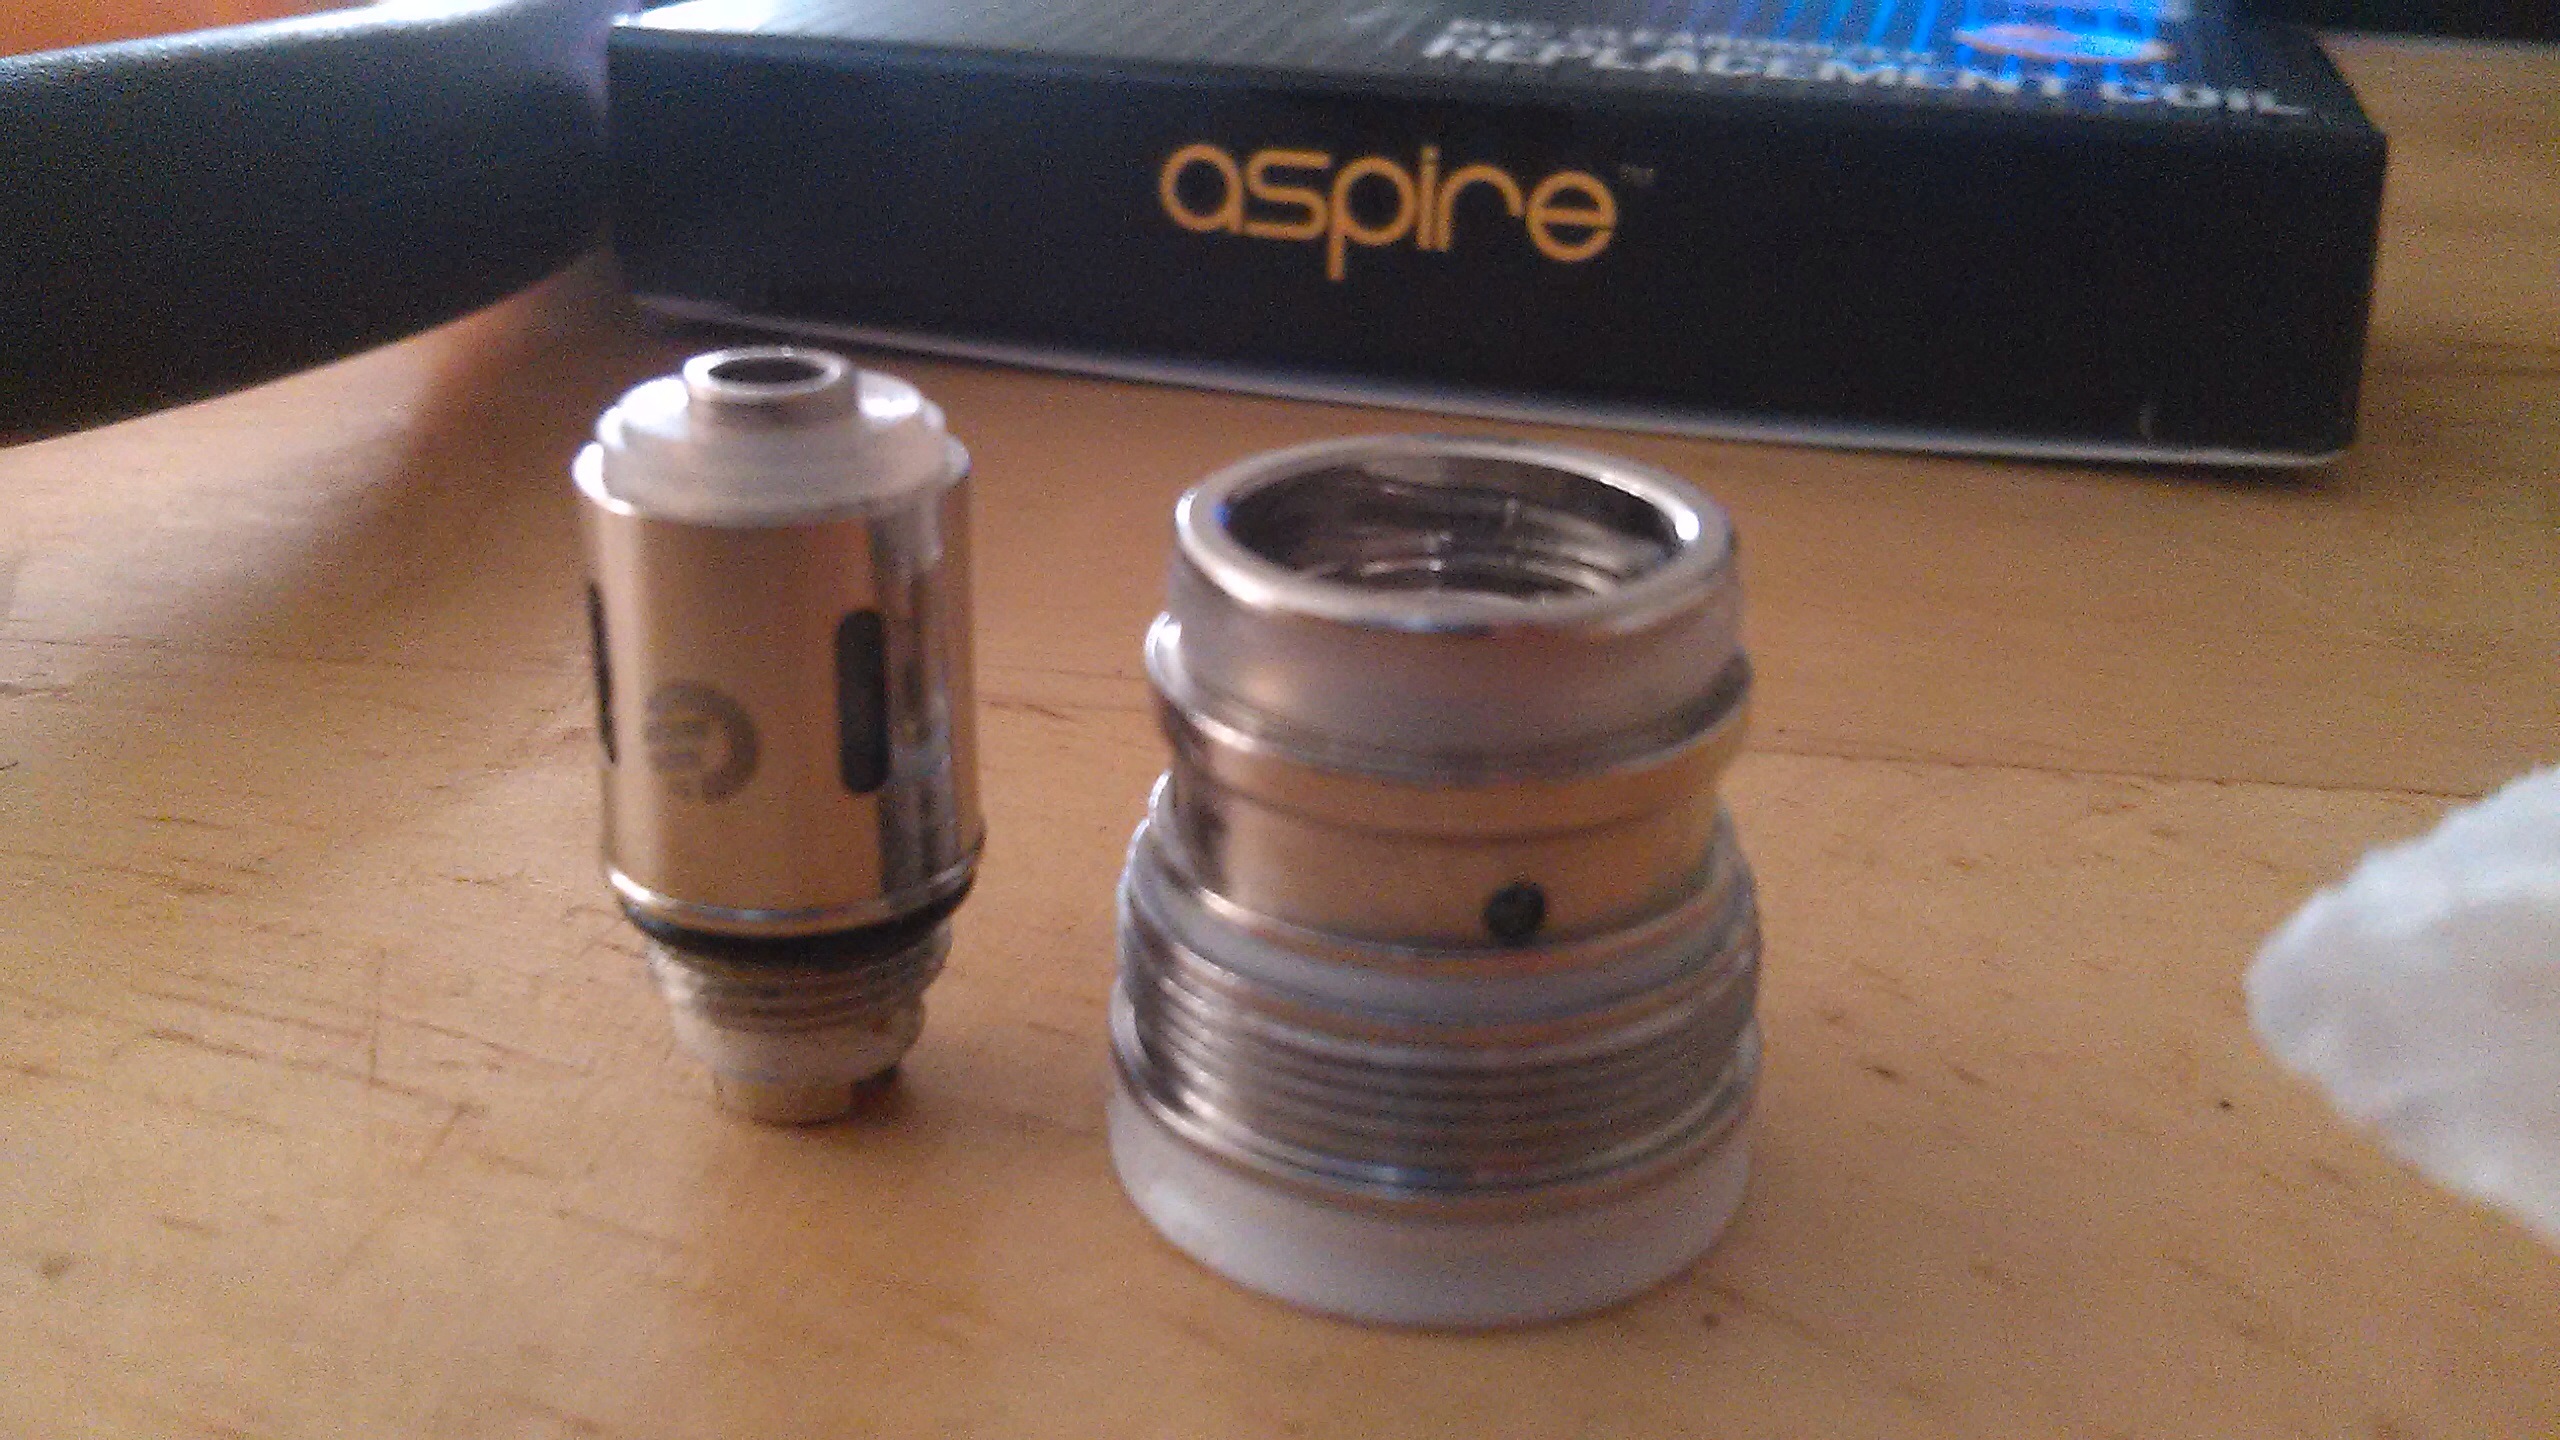
The first thing that you want to do is take the Joyetech tool and remove the Atomizer Base w/ CS Atomizer head from the eGrip. Once you take it out, proceed to separate the Atomizer Head from the Atomizer base and place them together to the side. Then take your Aspire BVC and place that nearby for minor surgery.
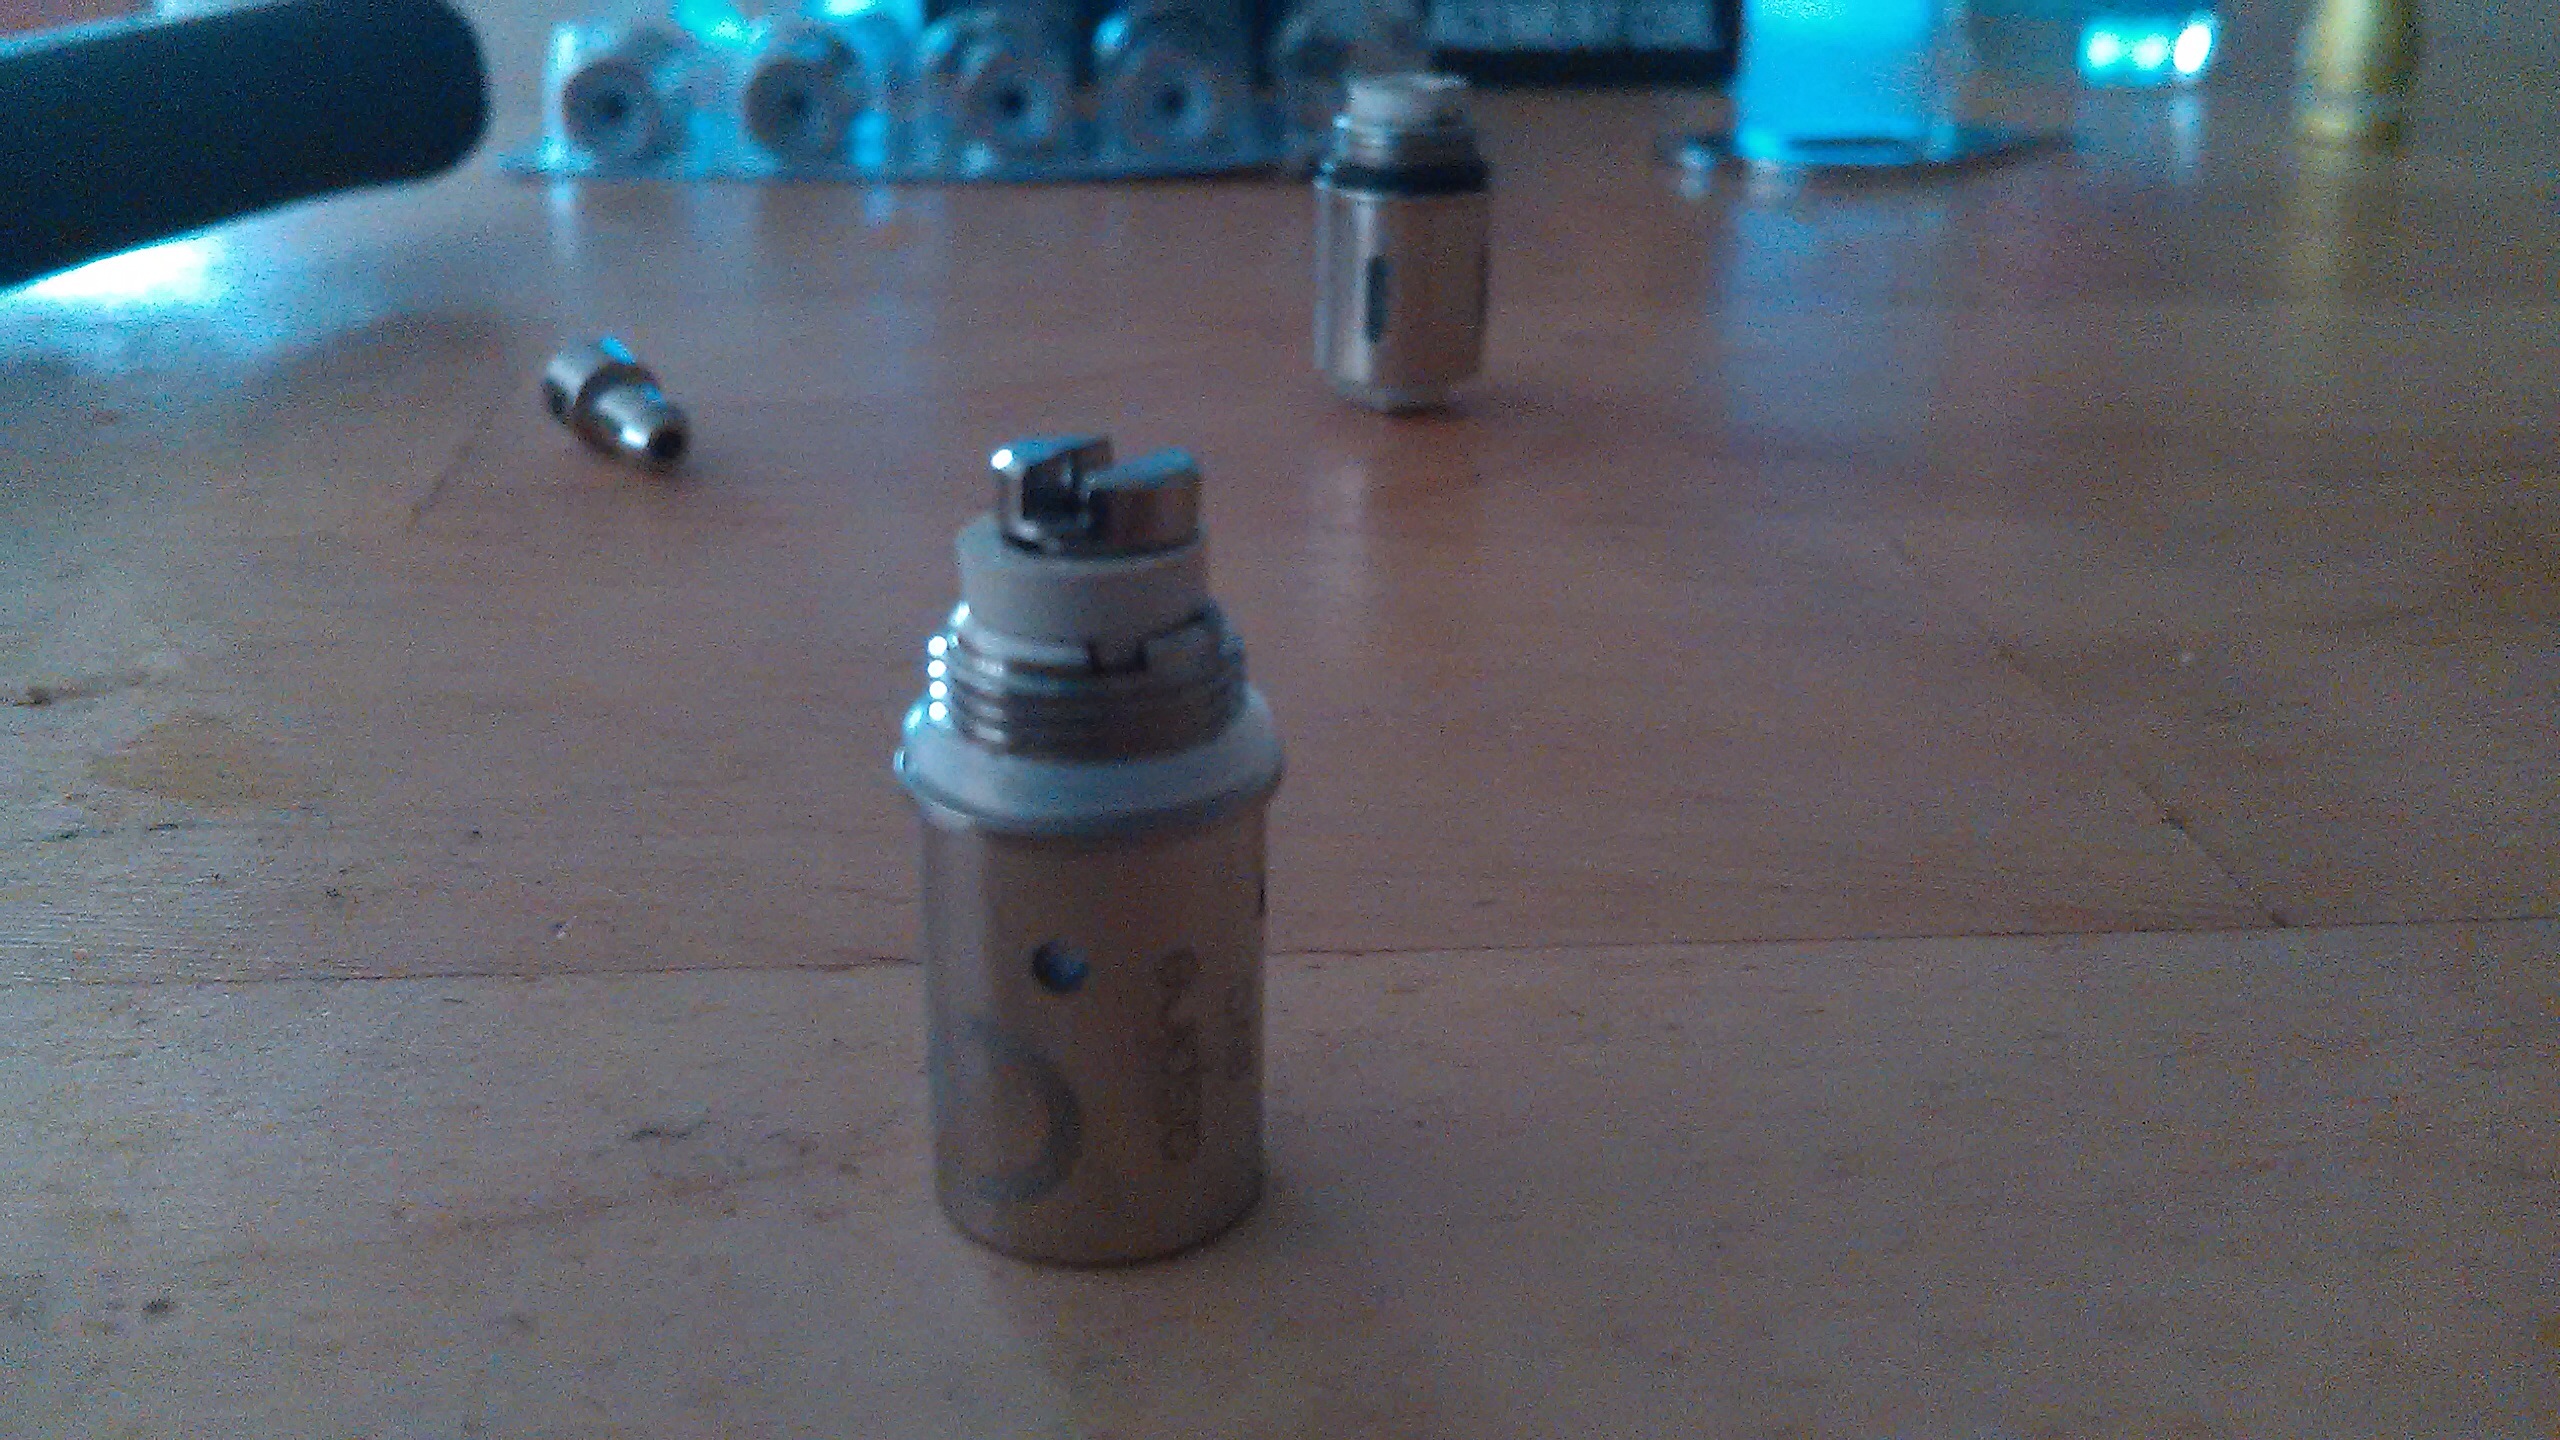
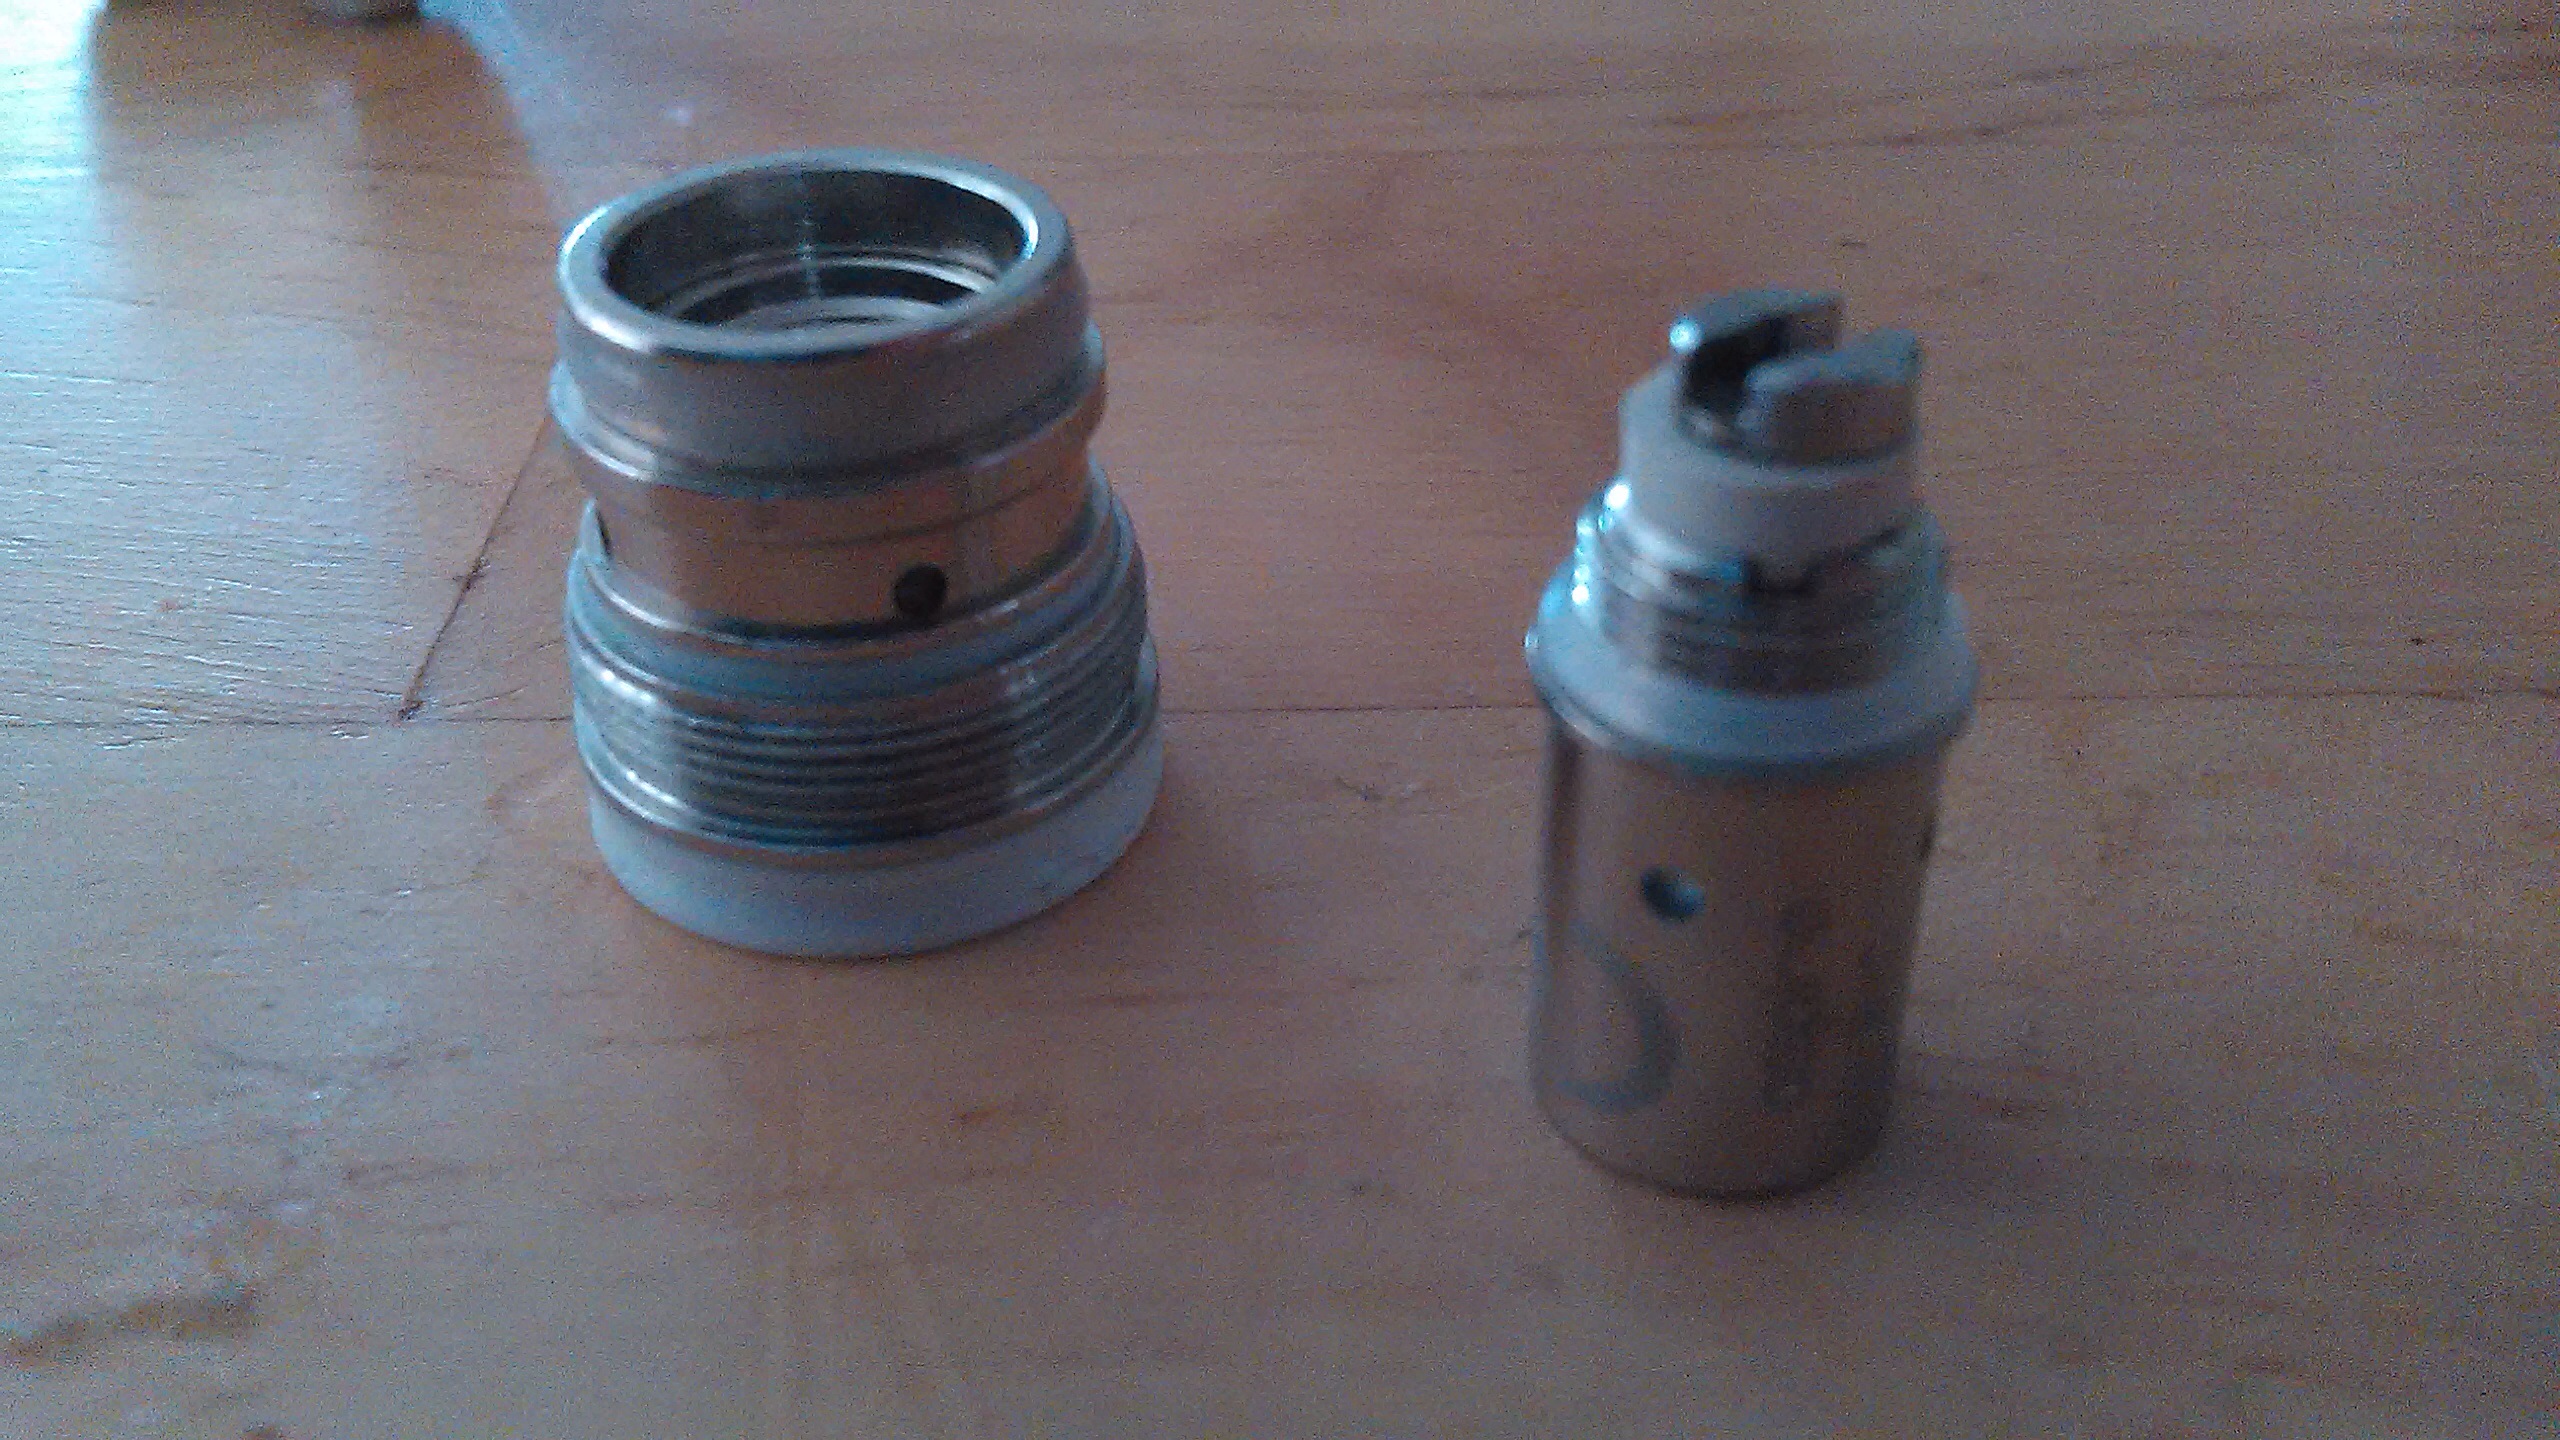
Step 3
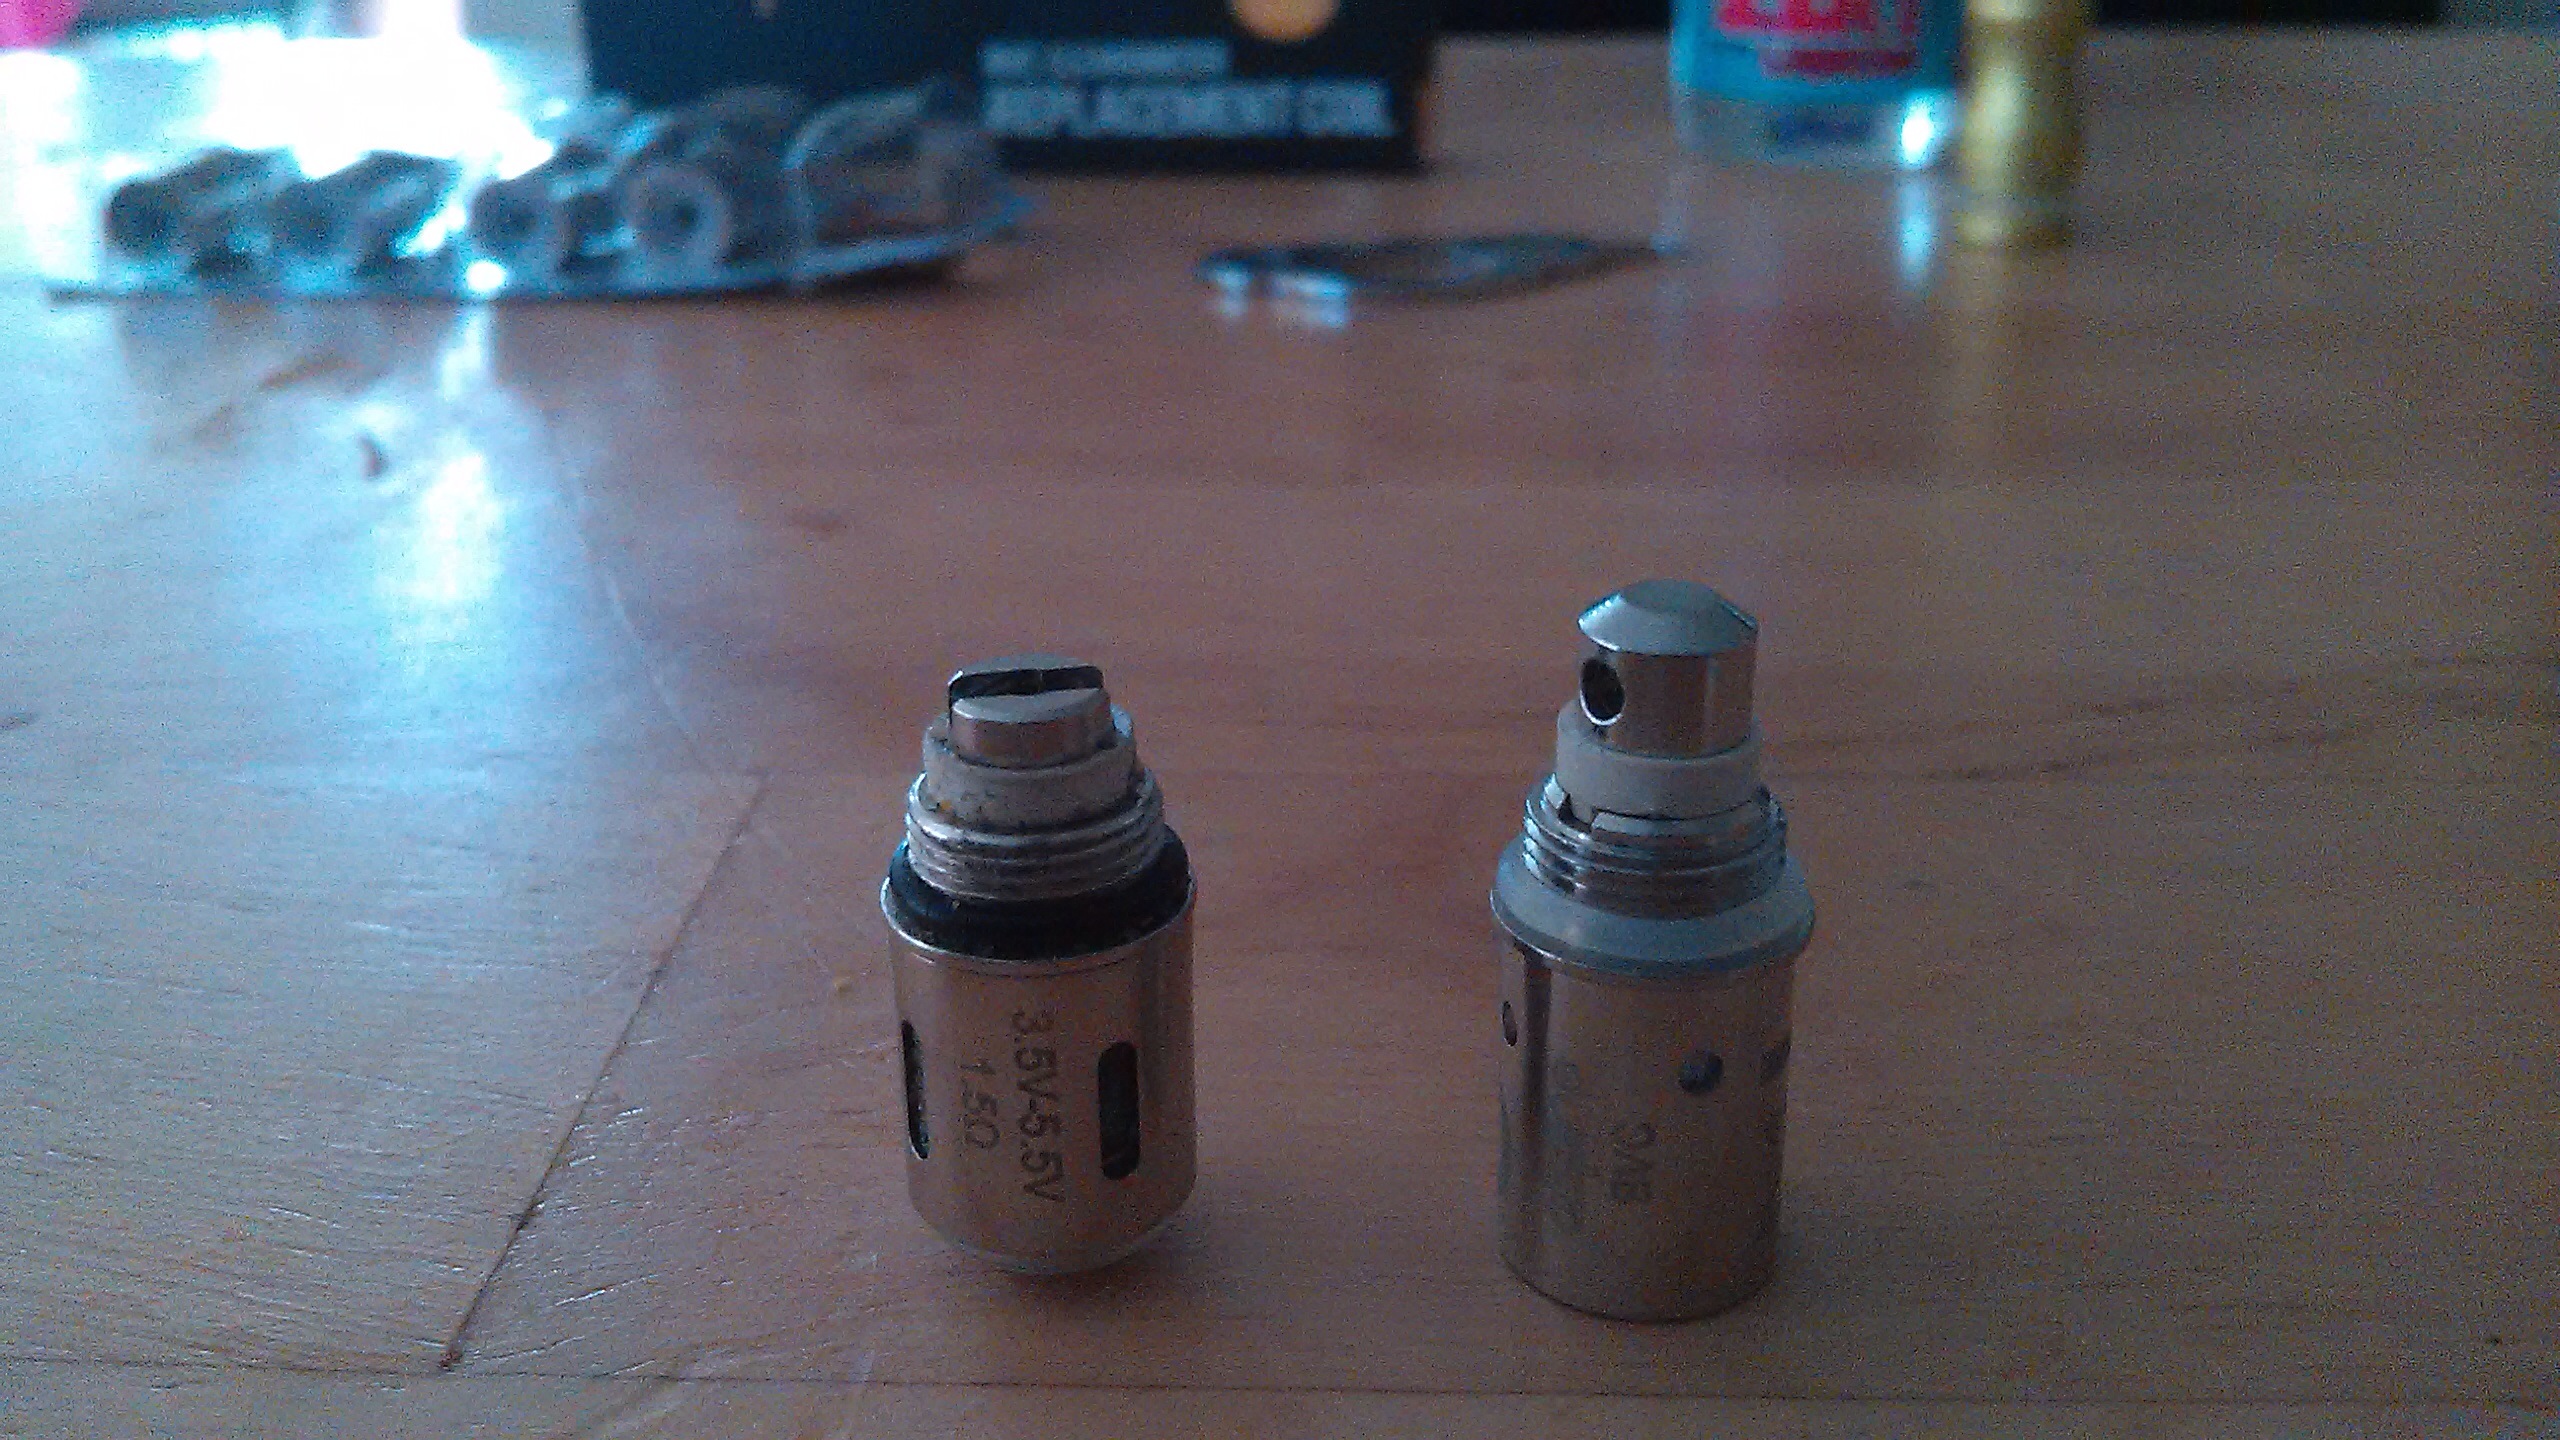
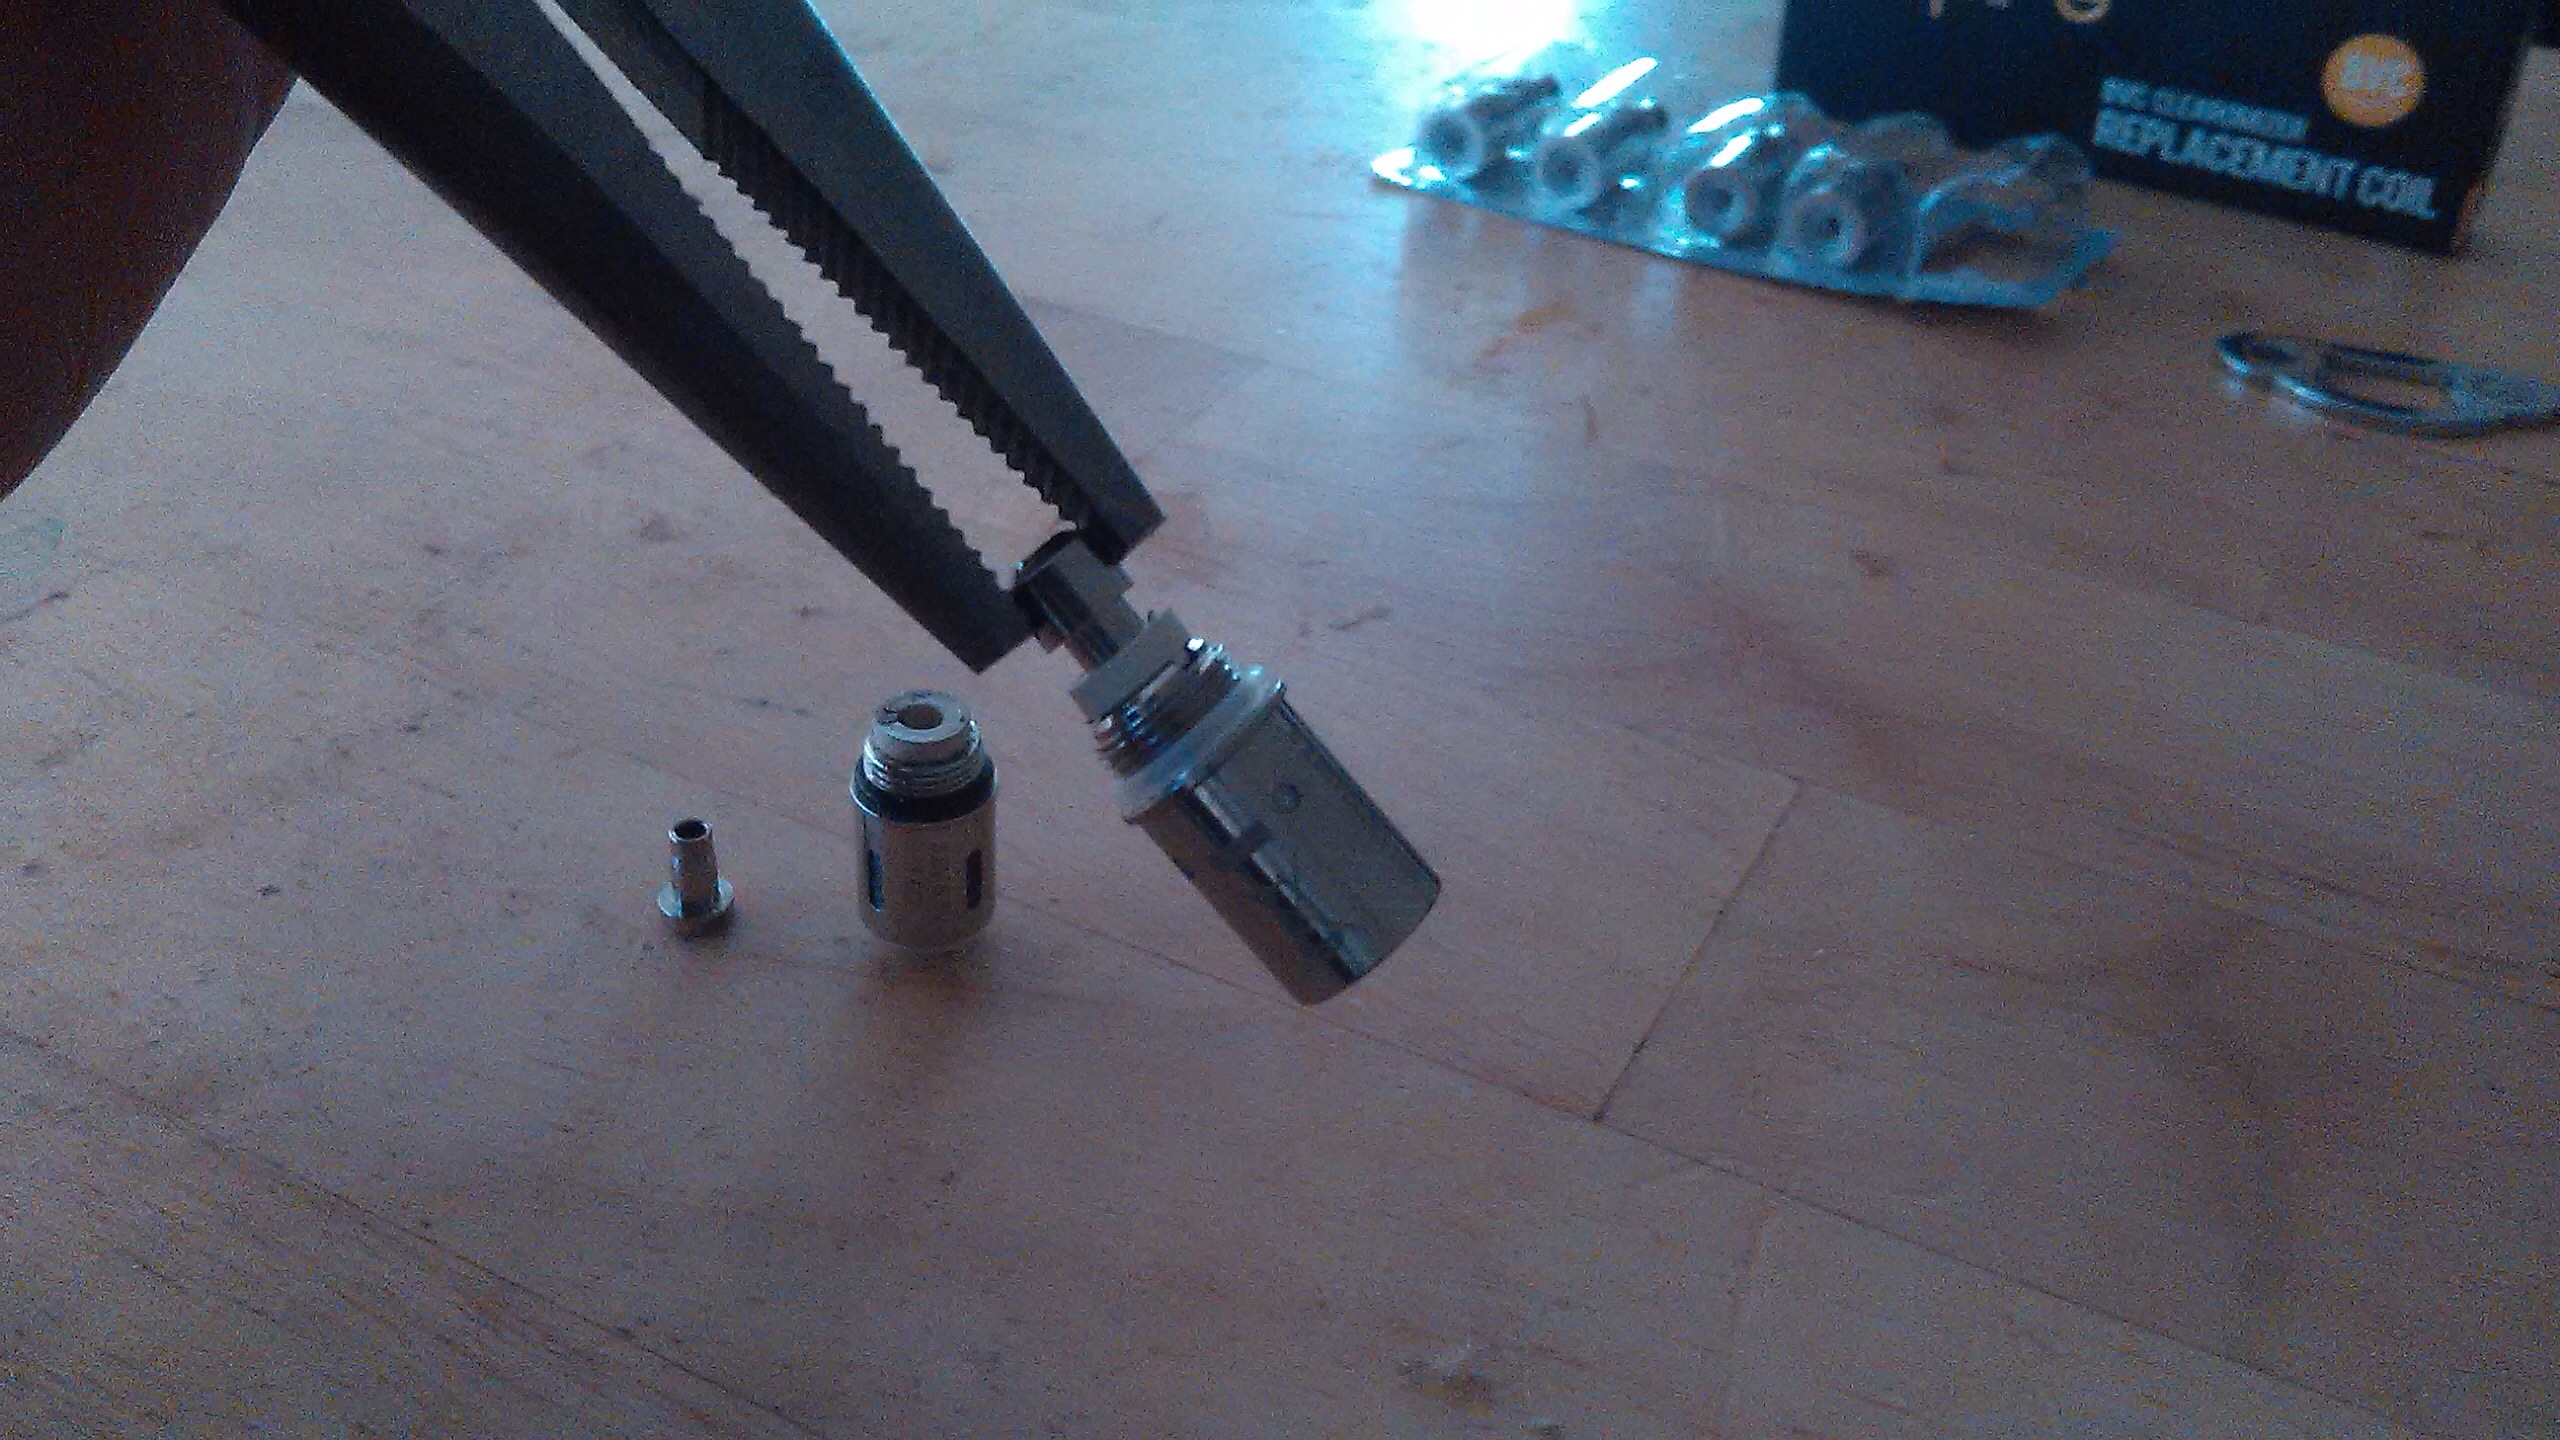
With the Joyetech CS Atomizer Head on the left and the Aspire BVC on the right, you can easily see the Aspire firing pin is a bit longer than the stock CS Atomizer Head firing pin which is why we are switching them since it won’t fit in the Atomizer Base as is. Take the needle nose pliers and while gently clamping onto the metal firing tip remove the tip. It will come out easily with a little wiggling as you pull. After you remove them from both atomizer Heads place the pins to the side.
Step 4
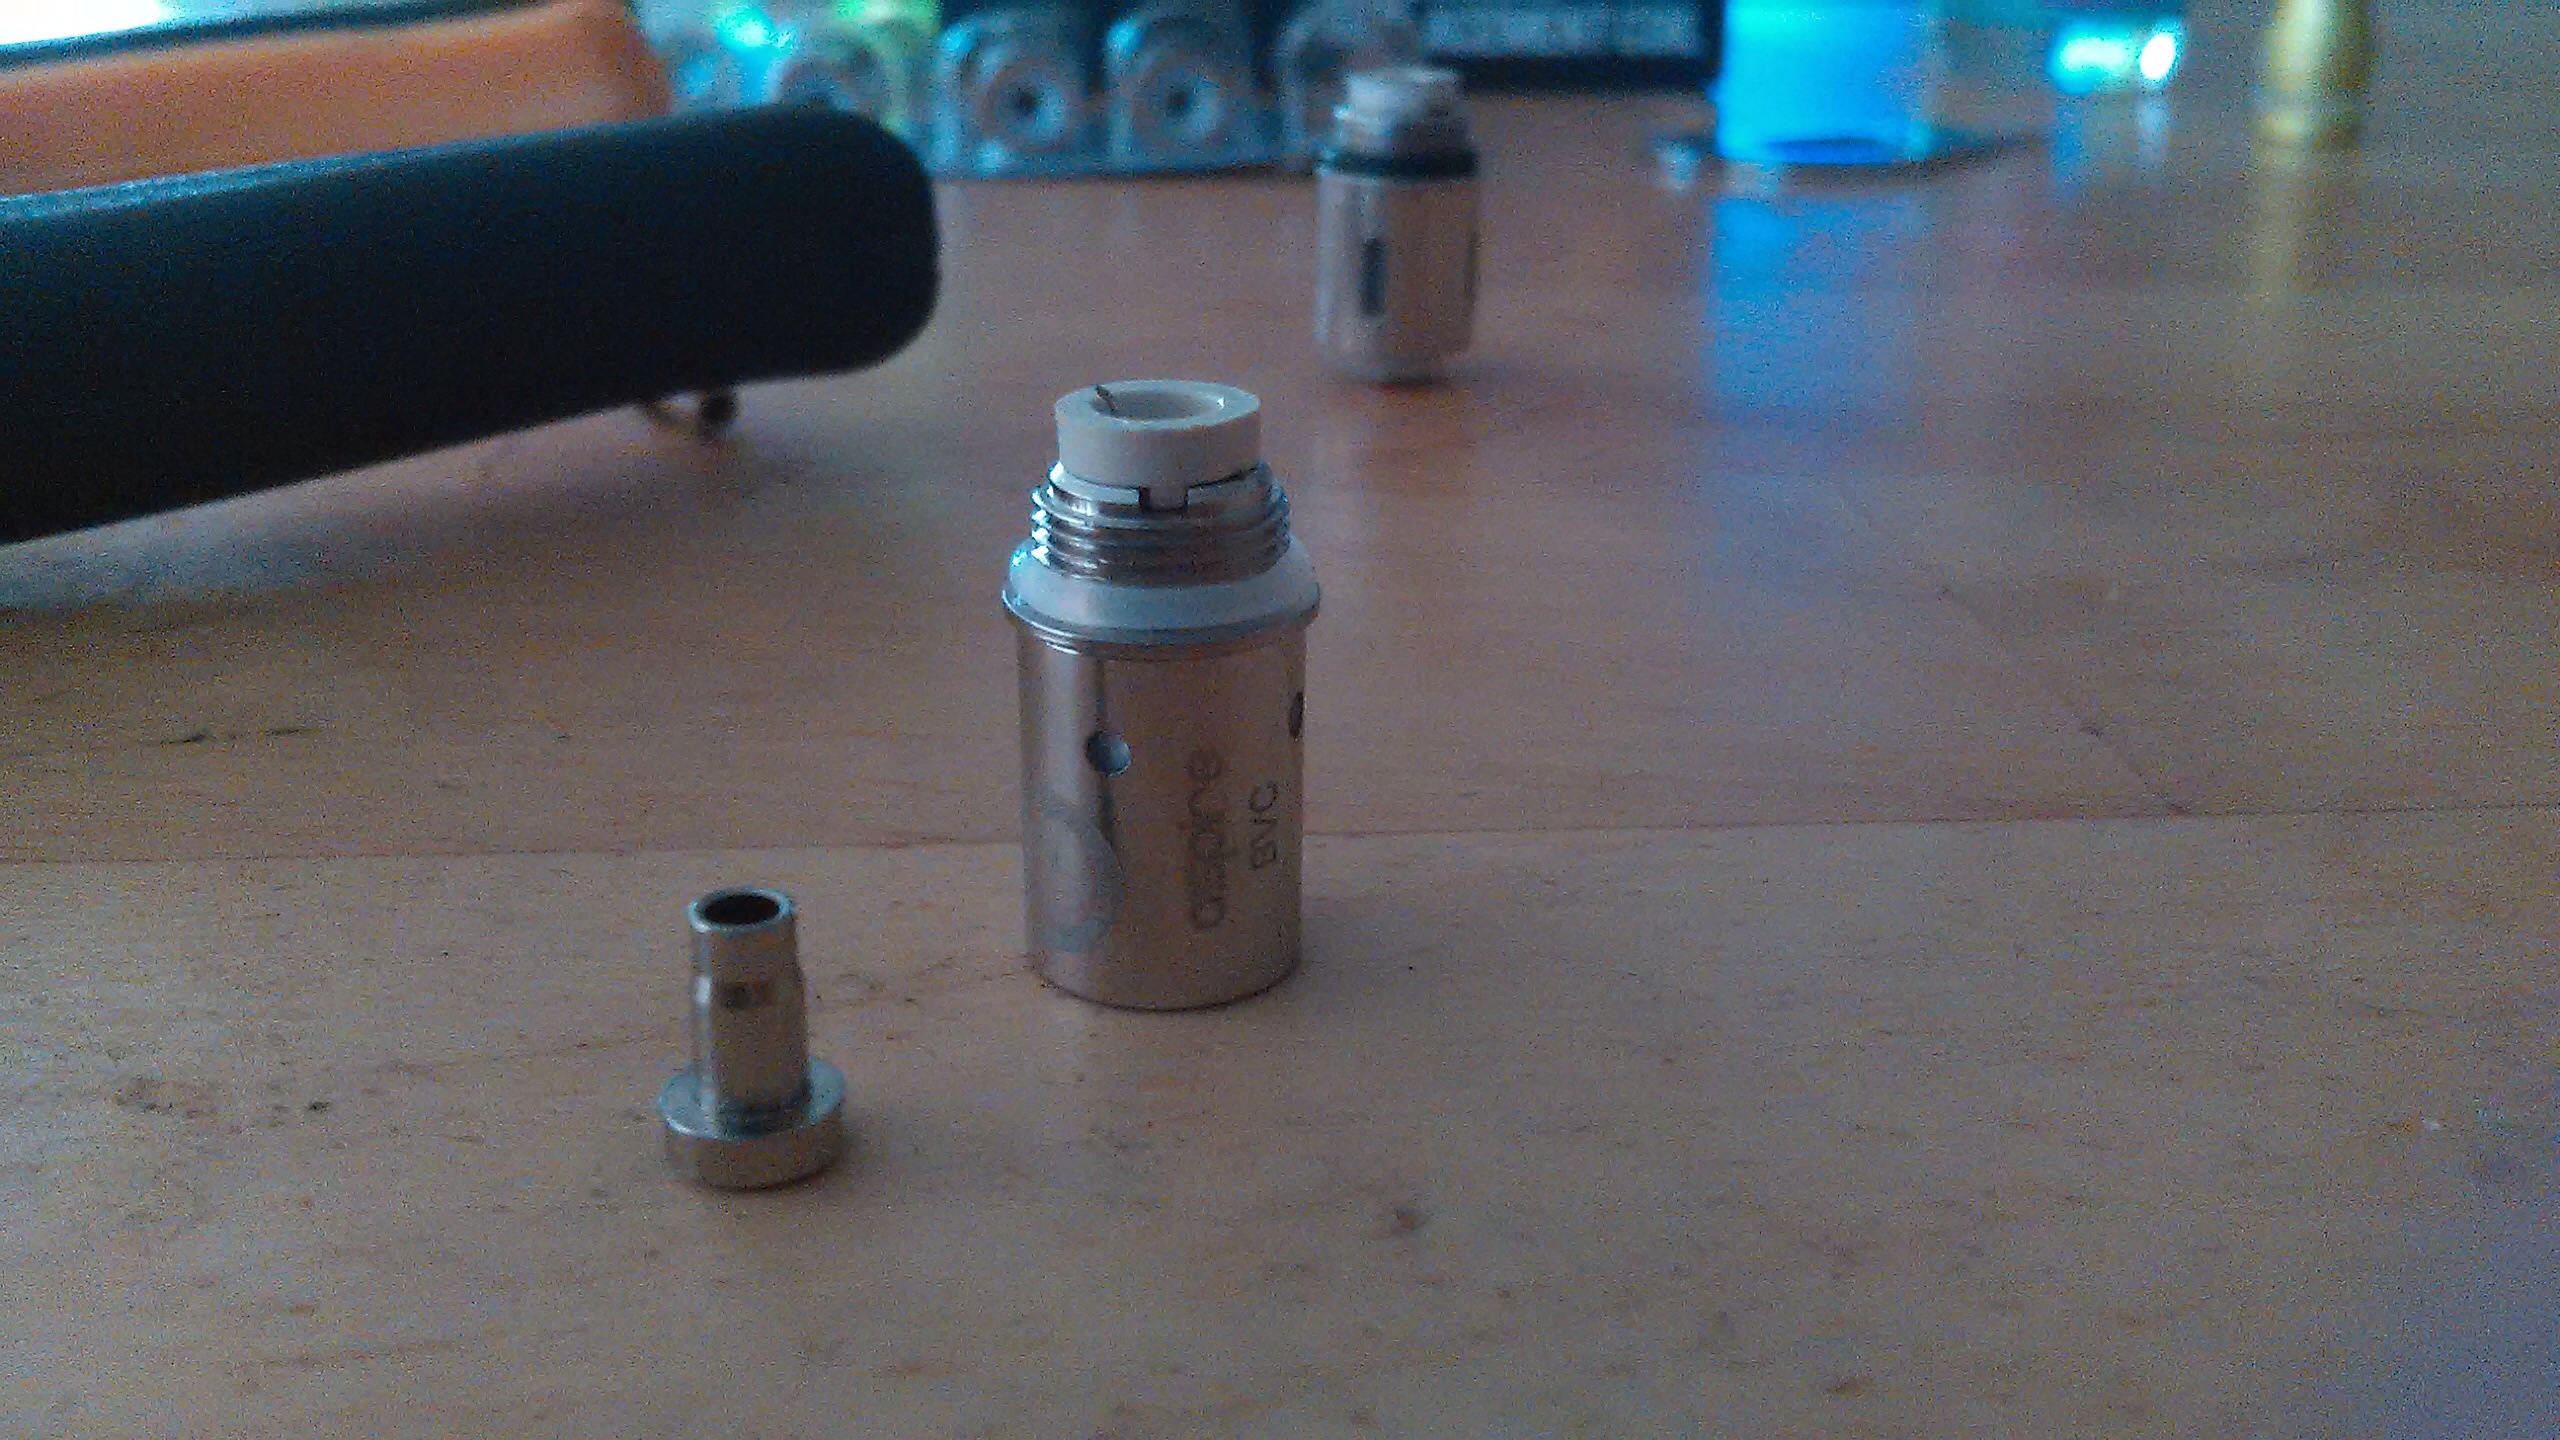
Here is where the fun begins! All you have to do is simply take the smaller firing pin and place it in the Aspire BVC hole. Don’t be alarmed if it fits very loosely. That will be taken care of once you screw your new Aspire BVC into the Atomizer Base.
Step 5
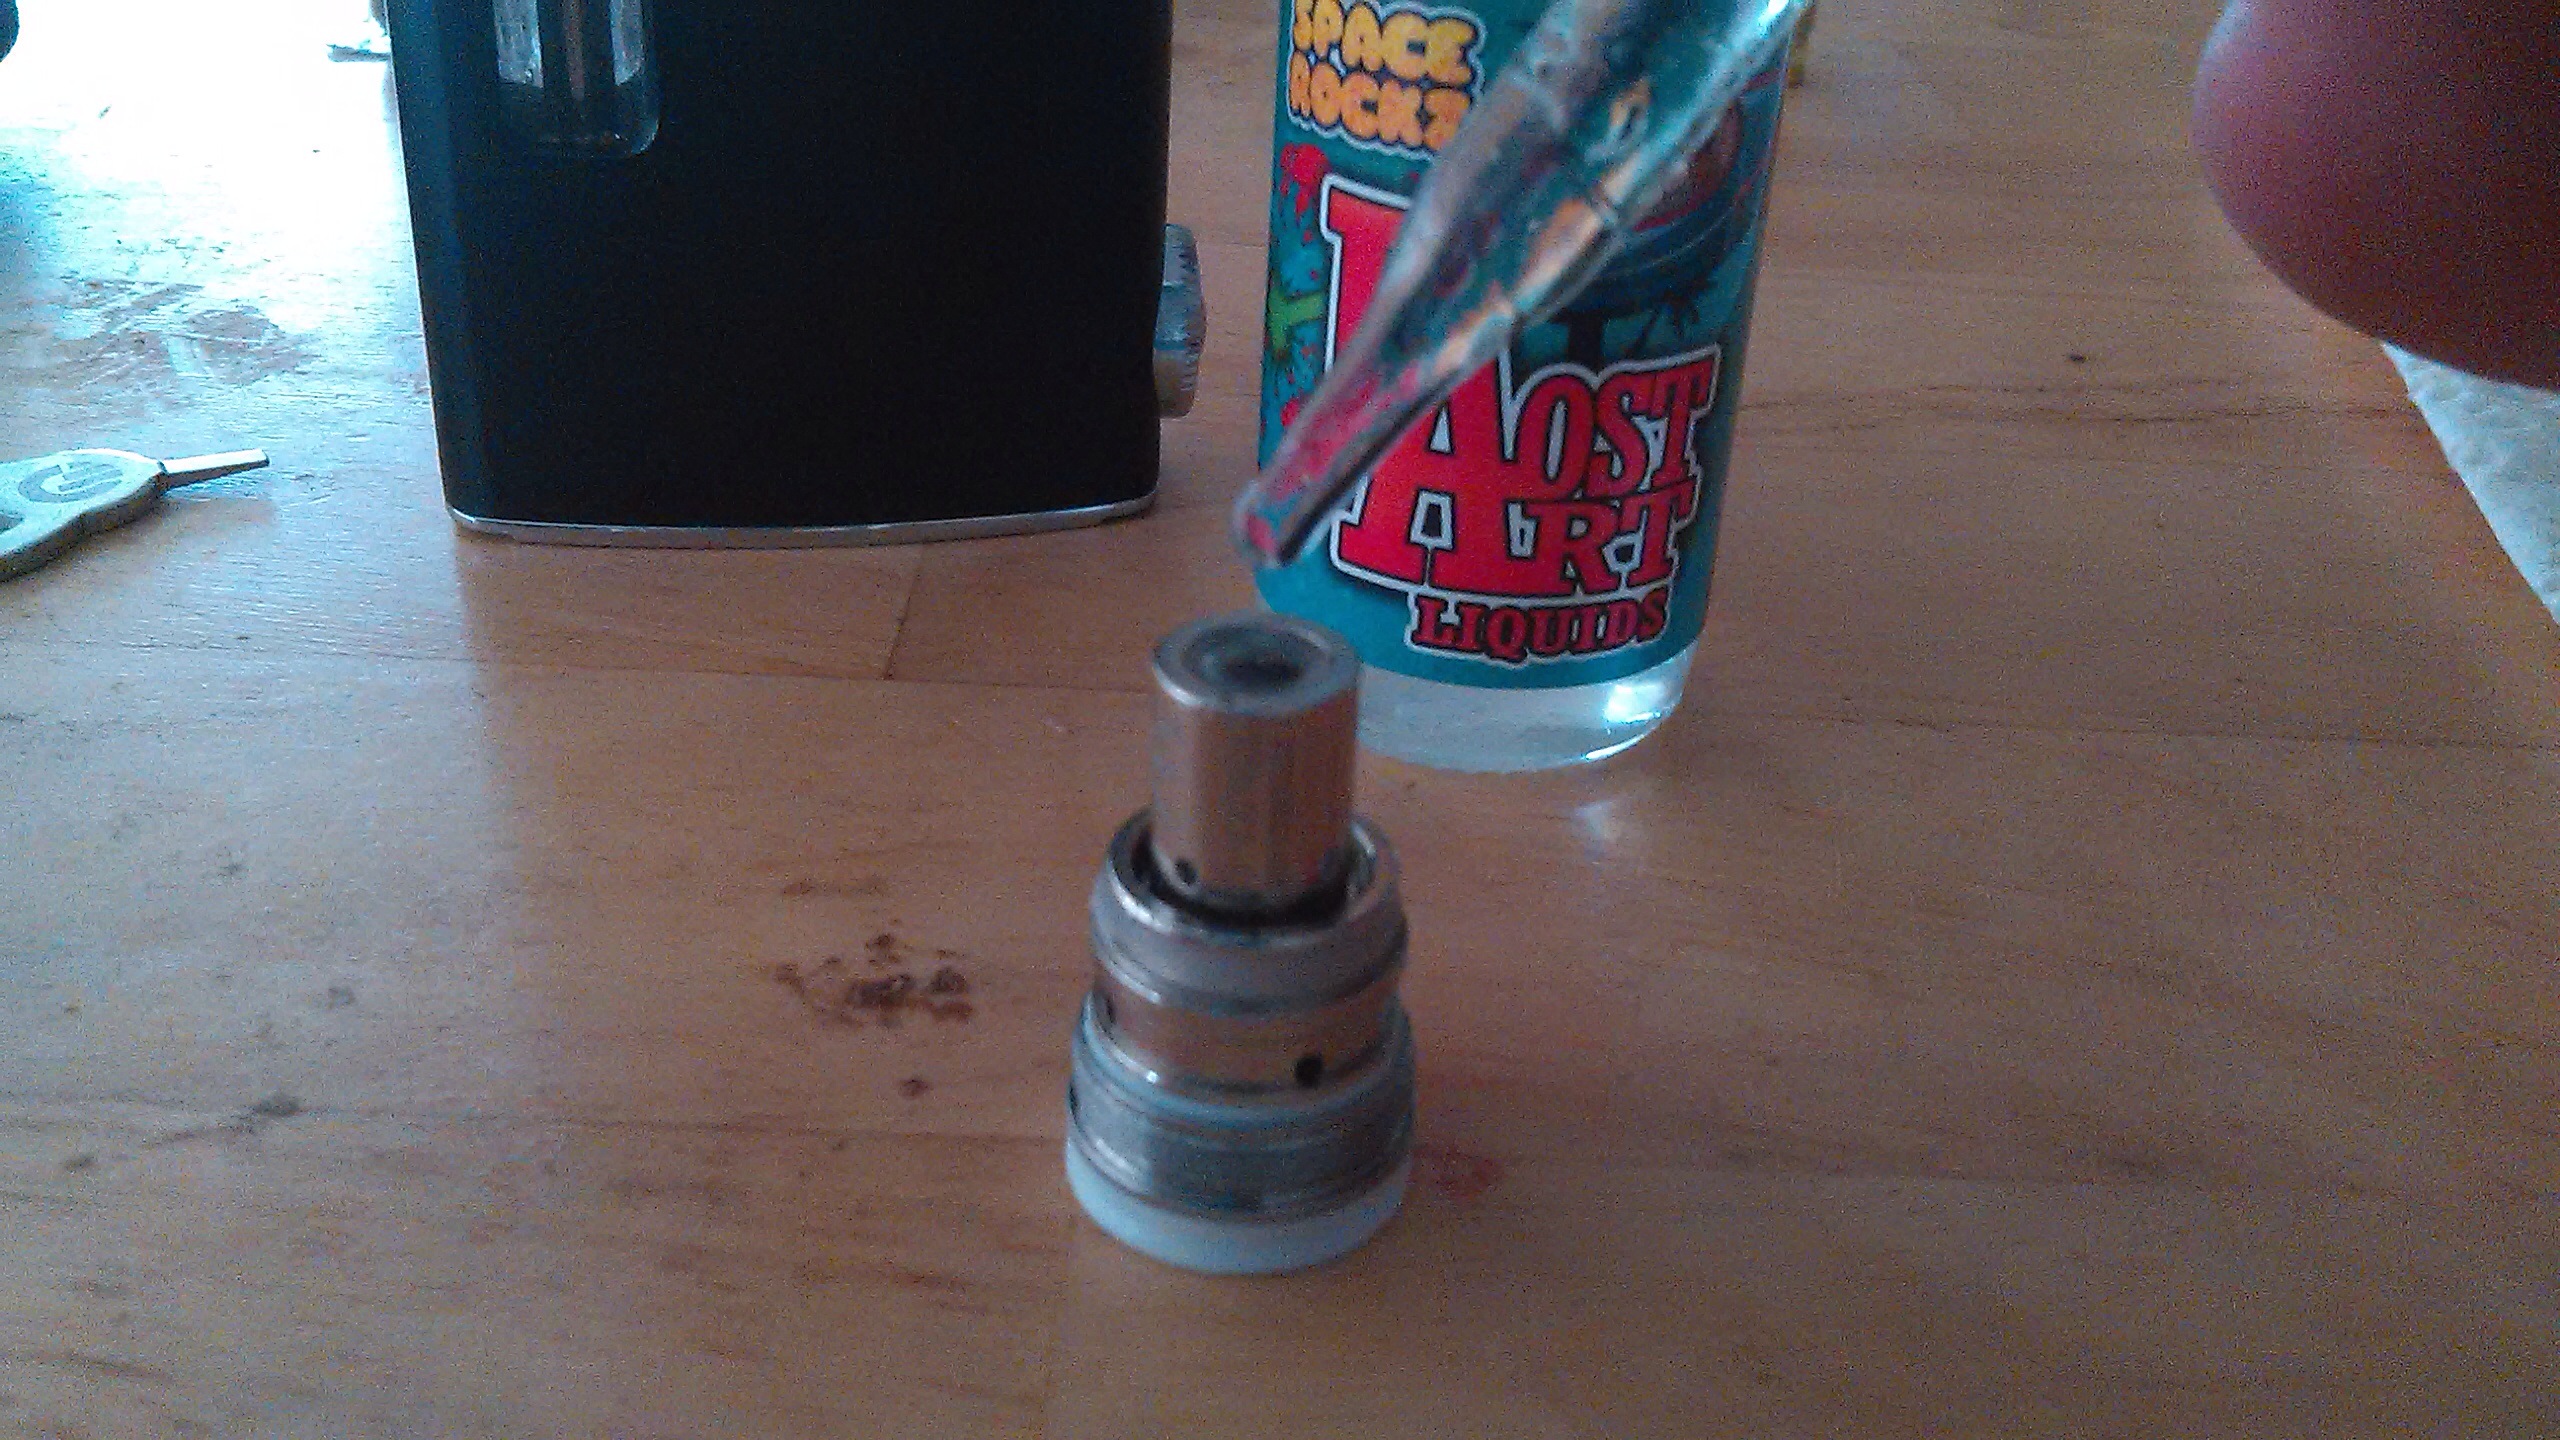
Take your new Aspire BVC and tighten it into your Atomizer Base. With the firing pin being so loose I suggest that you tighten it in place upside down with the Aspire BVC on the bottom while gently twisting the Atomizer Head from the top until it tightens. Once you are done prime the coil with your favorite eliquid and connect it back into your refilled egrip to test out your work.
Final Verdict
After letting my new Aspire BVC soak up all of that delicious eliquid I gave it a vape and all I can say is WOW! I immediately noticed that it fires up with more authority and the flavor enhancement is amazing. I’m currently vaping on Lost Art Liquids “Space Rocks” and the new coil brought out even more flavor profiles than I had noticed before. I definitely stand behind this modification. If you own an eGrip and would like to enhance your vaping experience even more than I highly recommend you trying this technique out. It is WORTH it!

Thats a quite helpful tutorial. Just purchased an egrip, and love it so far
LikeLike
I’m glad it’s able to help you out, and the eGrip has become my favorite device by far 🙂
LikeLike